Peugeot 106 Head Gasket Replacement
I'm not really sure why the head gasket went but we first noticed a problem when it needed to be topped up with water every week. After a little investigation we found the radiator filler cap was faulty, you could hear it passing steam, a quiet gurgling sound with the engine off after it had warmed up. So we replaced it, bled the system again and hoped that was the end of it.

After a couple of days it needed topping up again. We checked the coolant system for pressurisation when cold and sure enough now it had a good filler cap it was pressurised. This combined with the massive amount of Mayonnaise under the rocker cover was a sure sign the head gasket had gone. Bugger... I have never done that job before and the cost of someone else doing it was prohibitive, but education is always good.
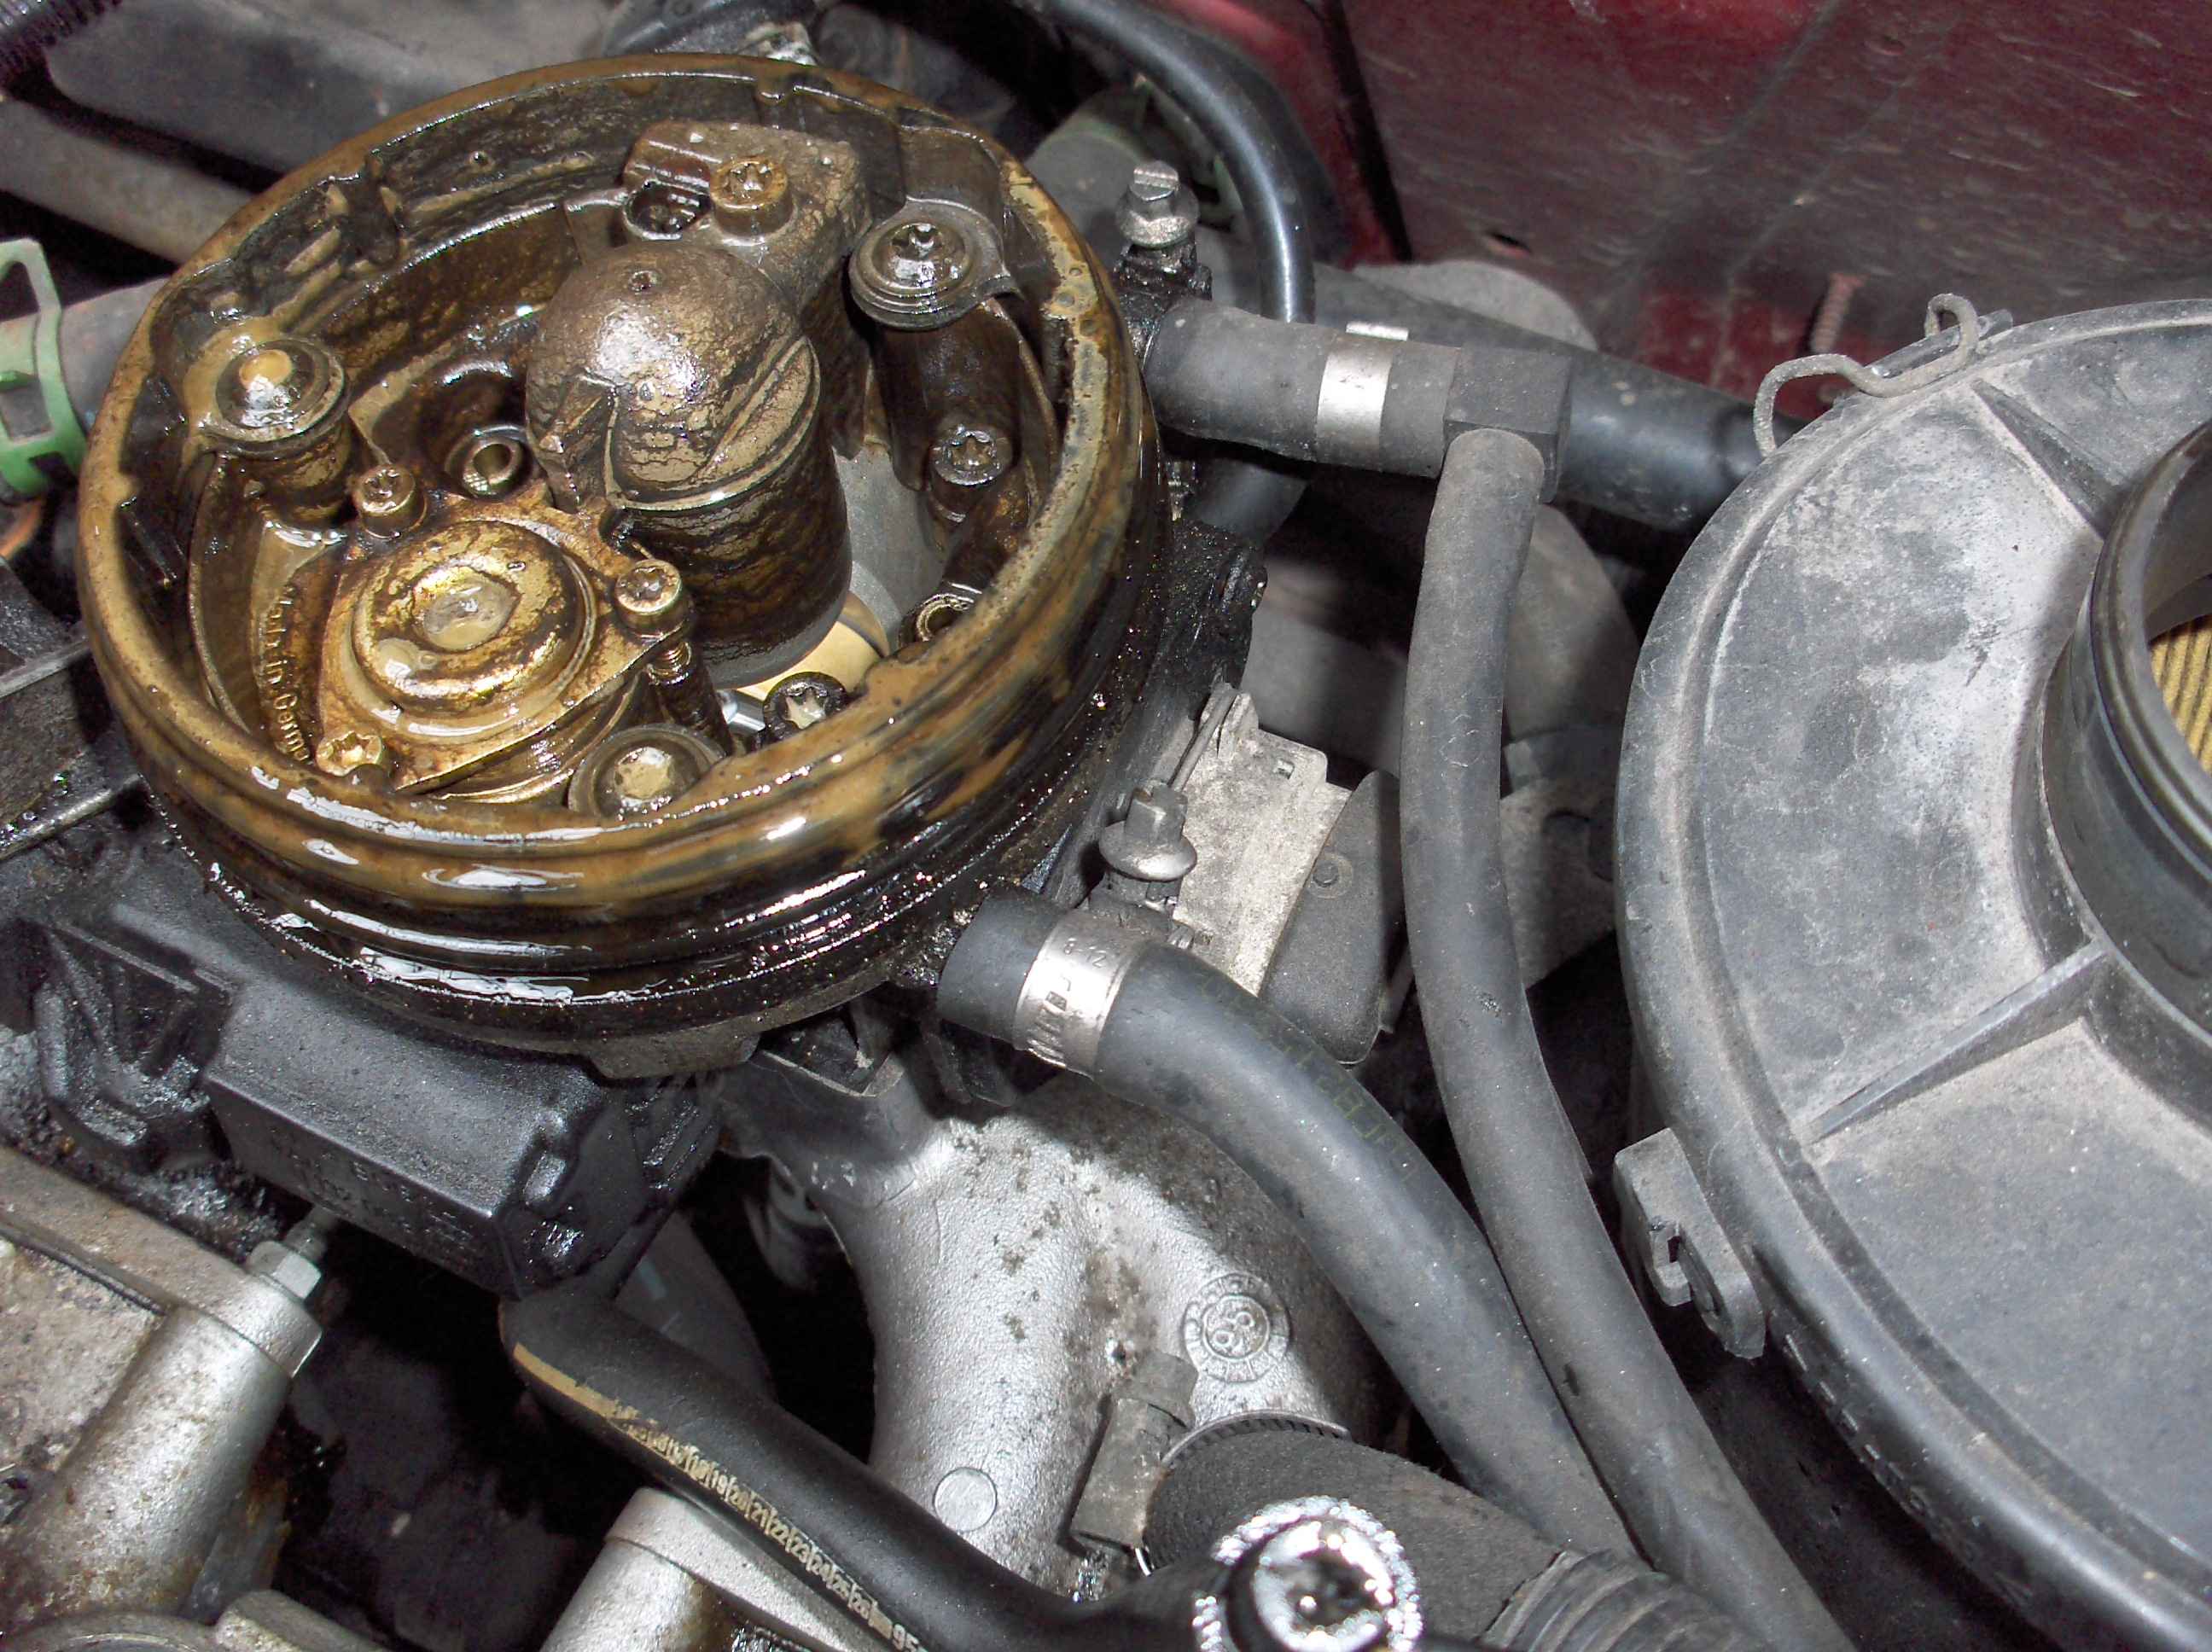
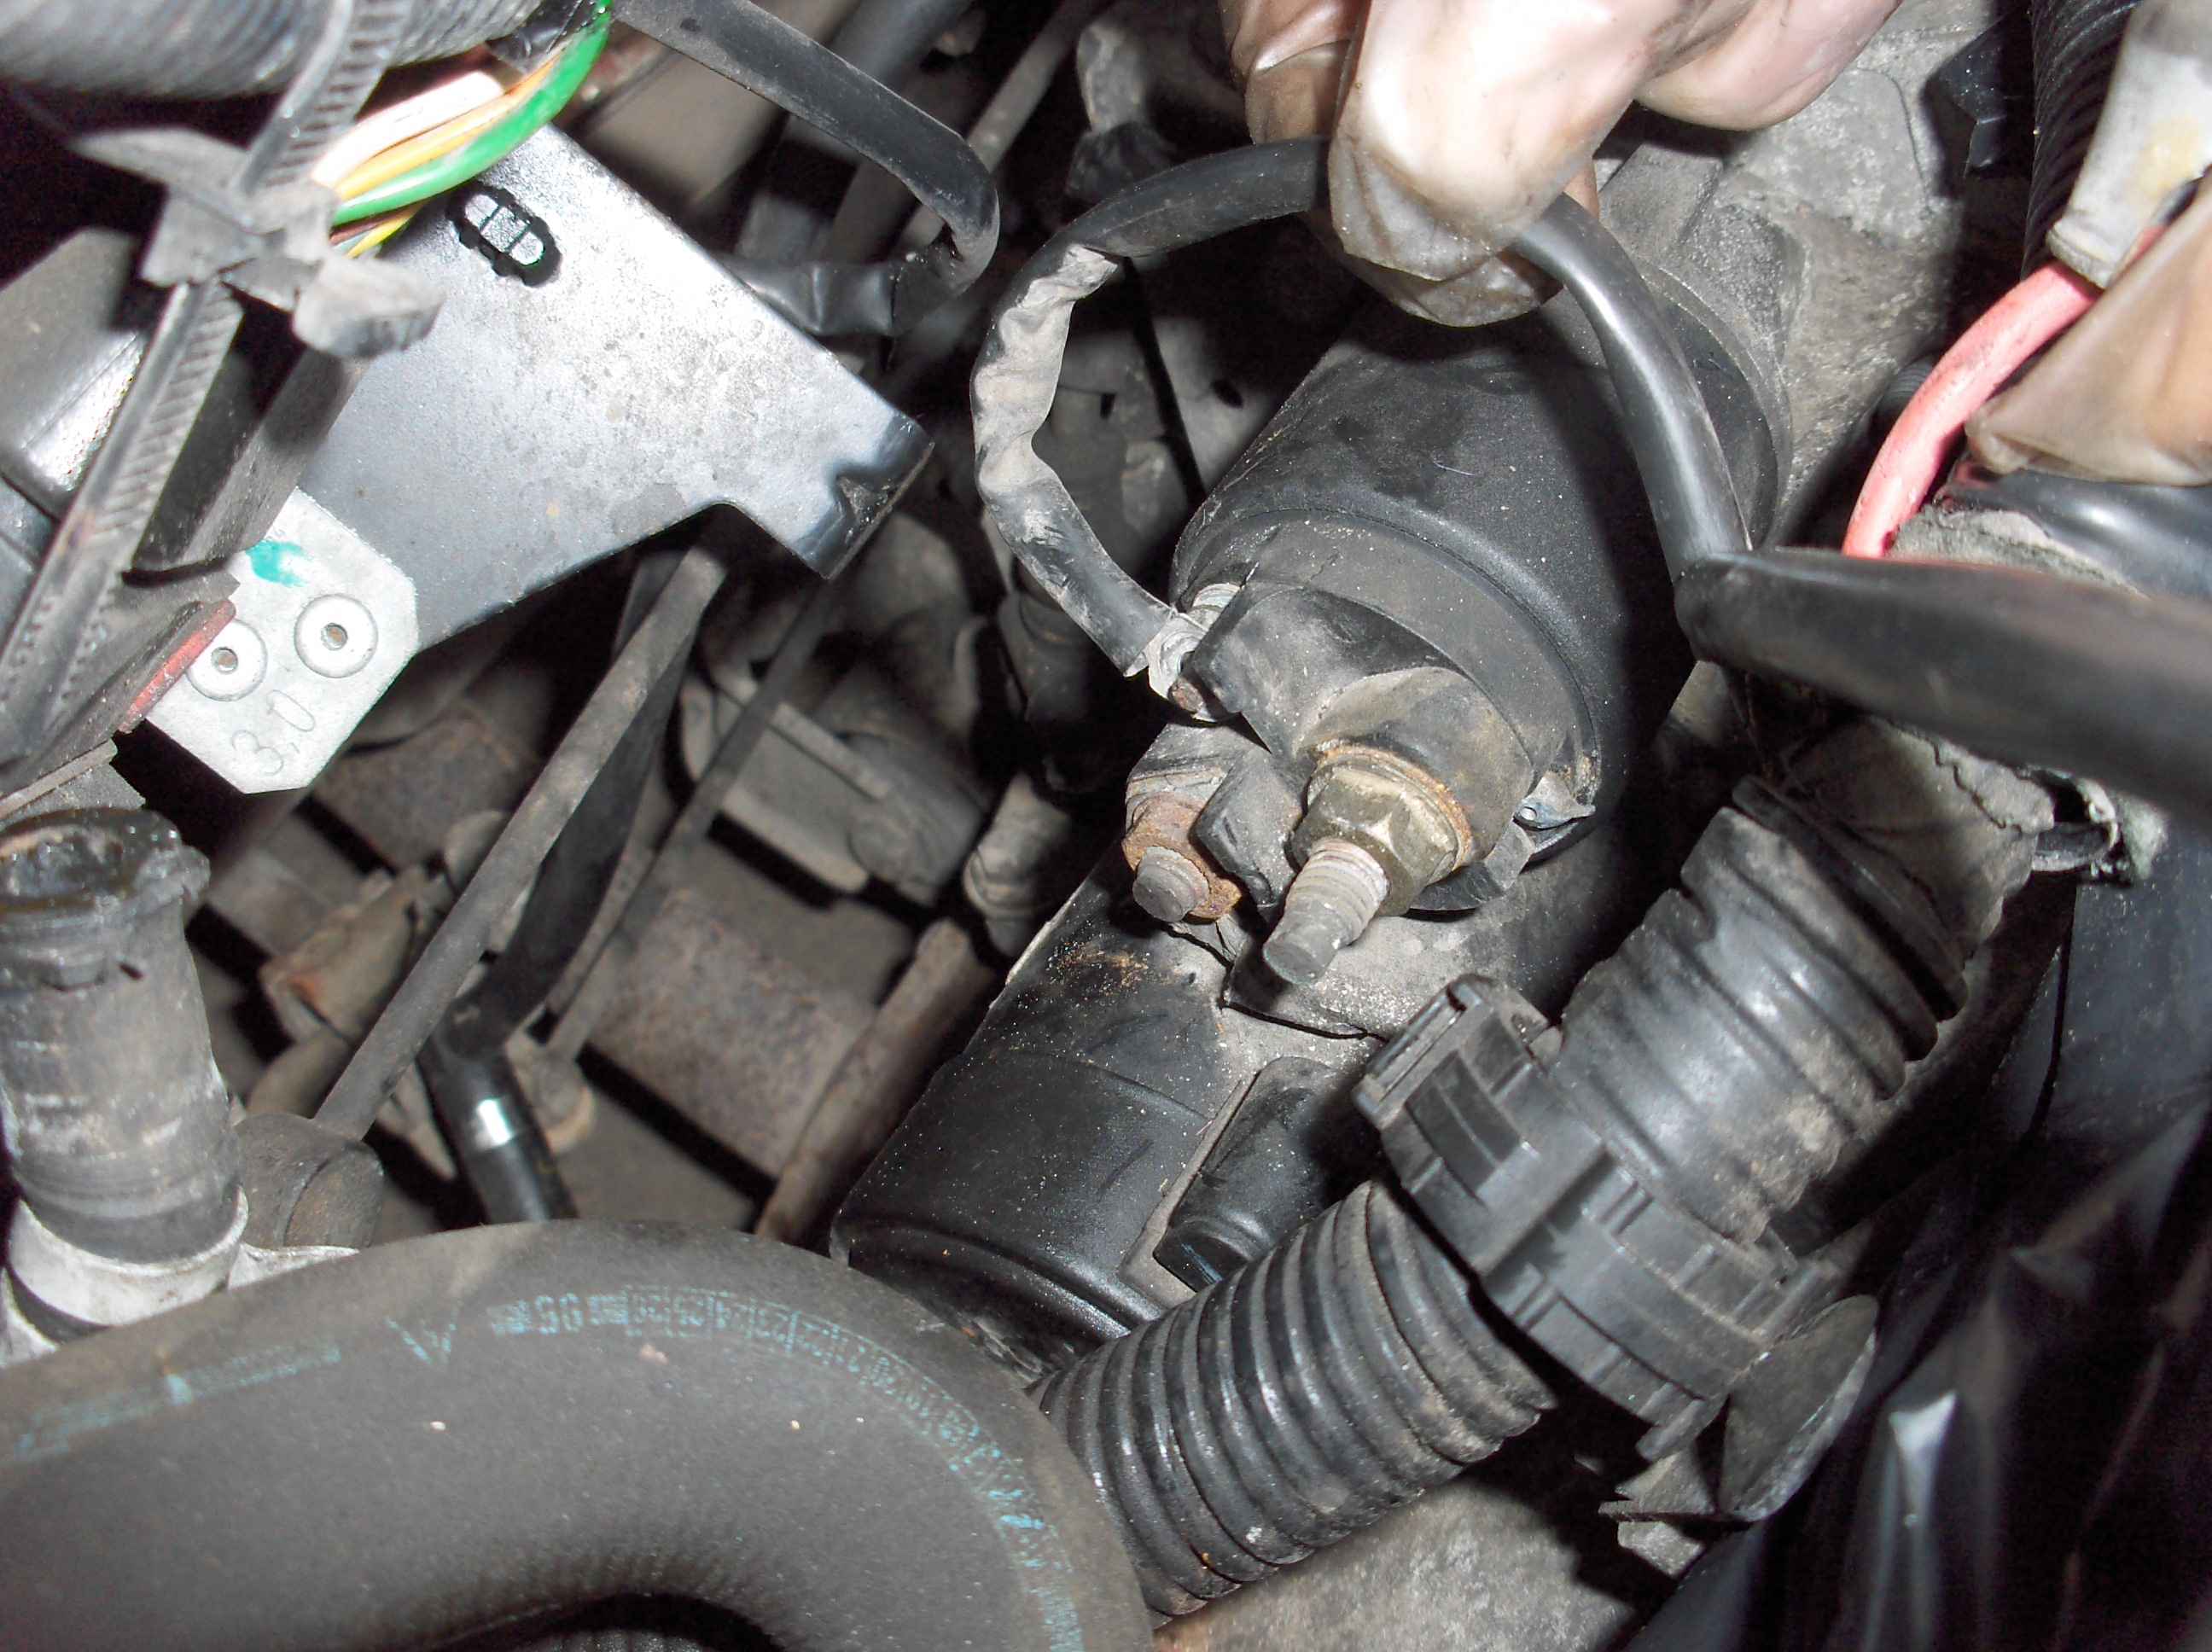
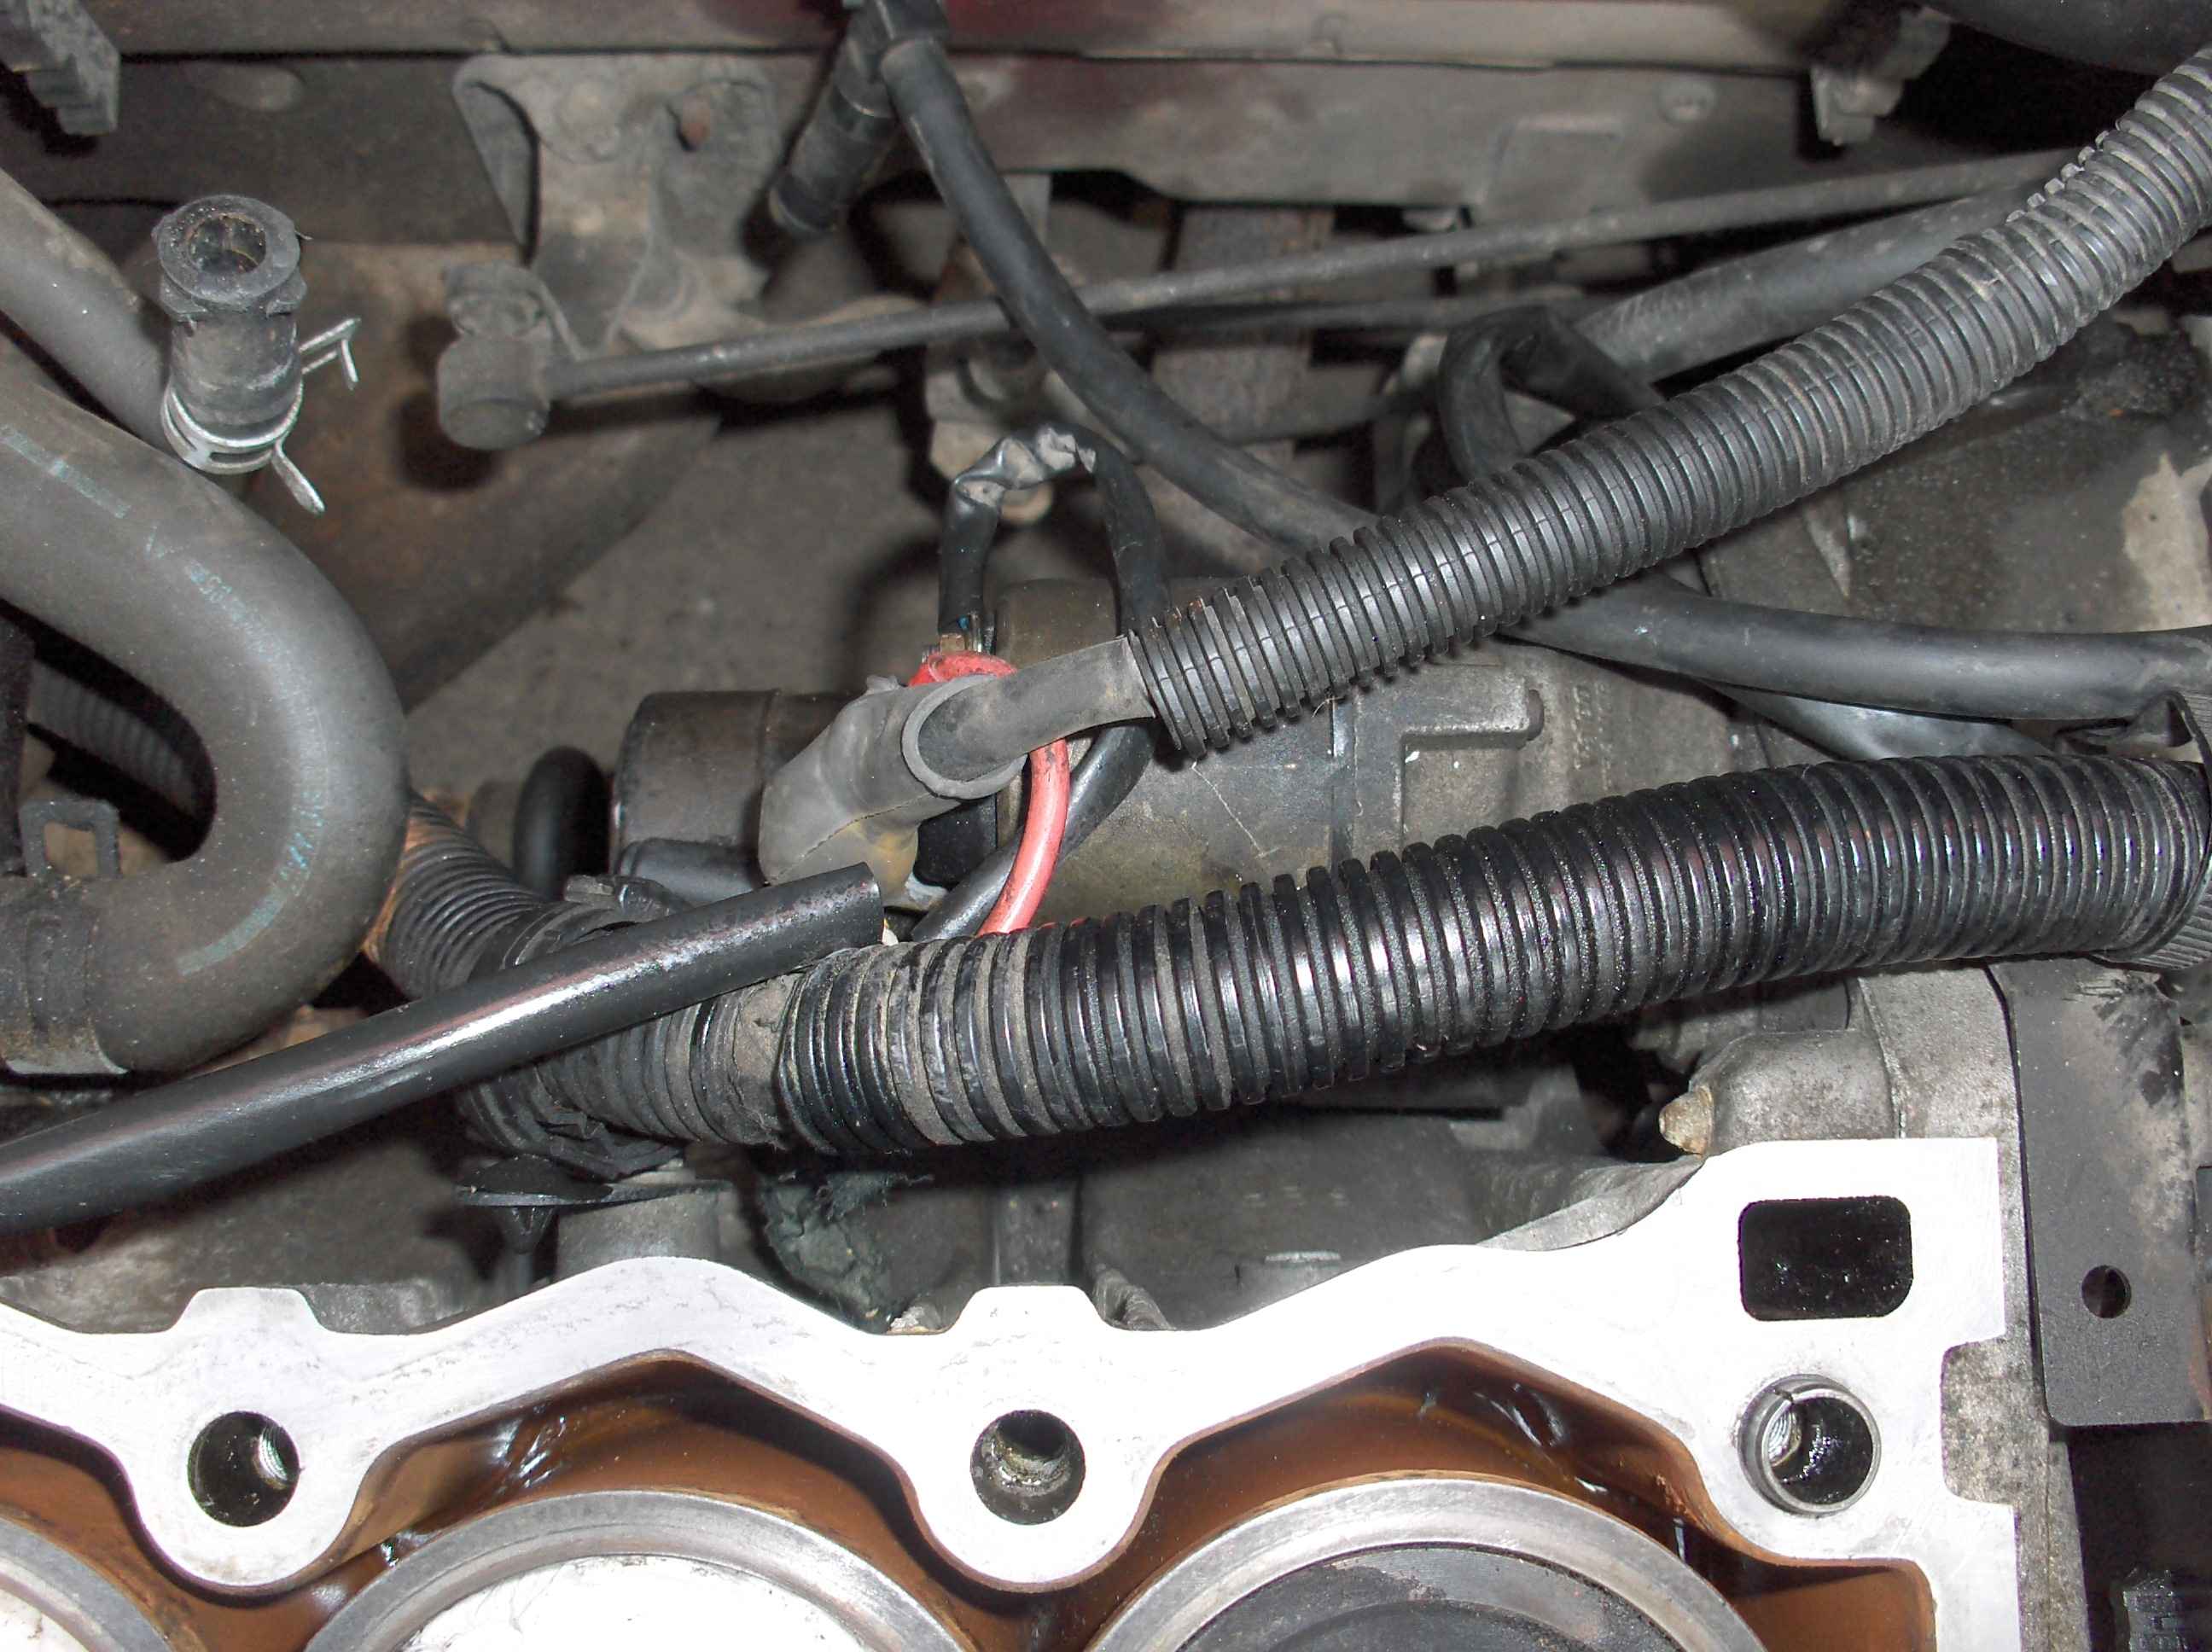
We decided to do it ourselves with some help (ok a lot of help) from Graham. Rob and I disconnected the battery, removed the coil pack, air filter, drained down the coolant system removed the radiator and it's fan. You can see in this picture the amount of mayonnaise that had found it's way to the injector assembly. After we had disconnected all the hoses and sensor cables taking photos incase I could not remember where they went.
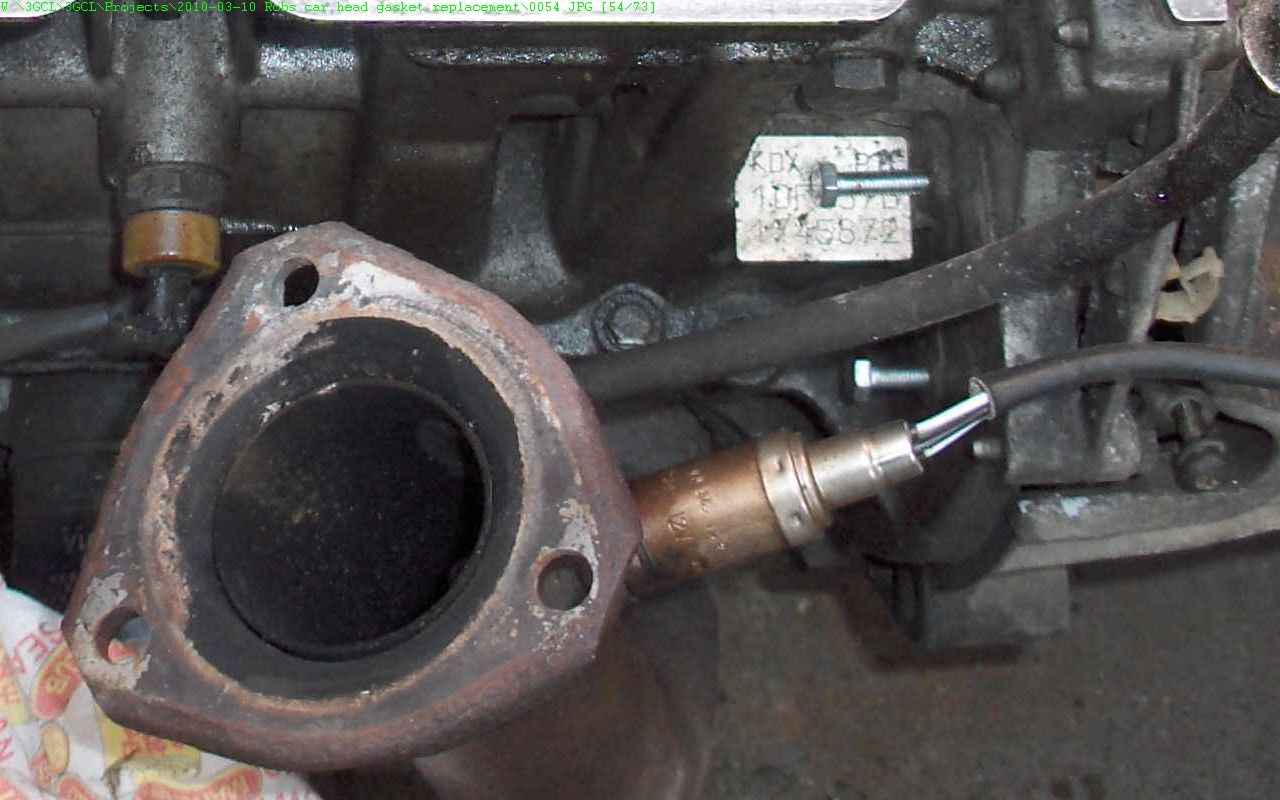
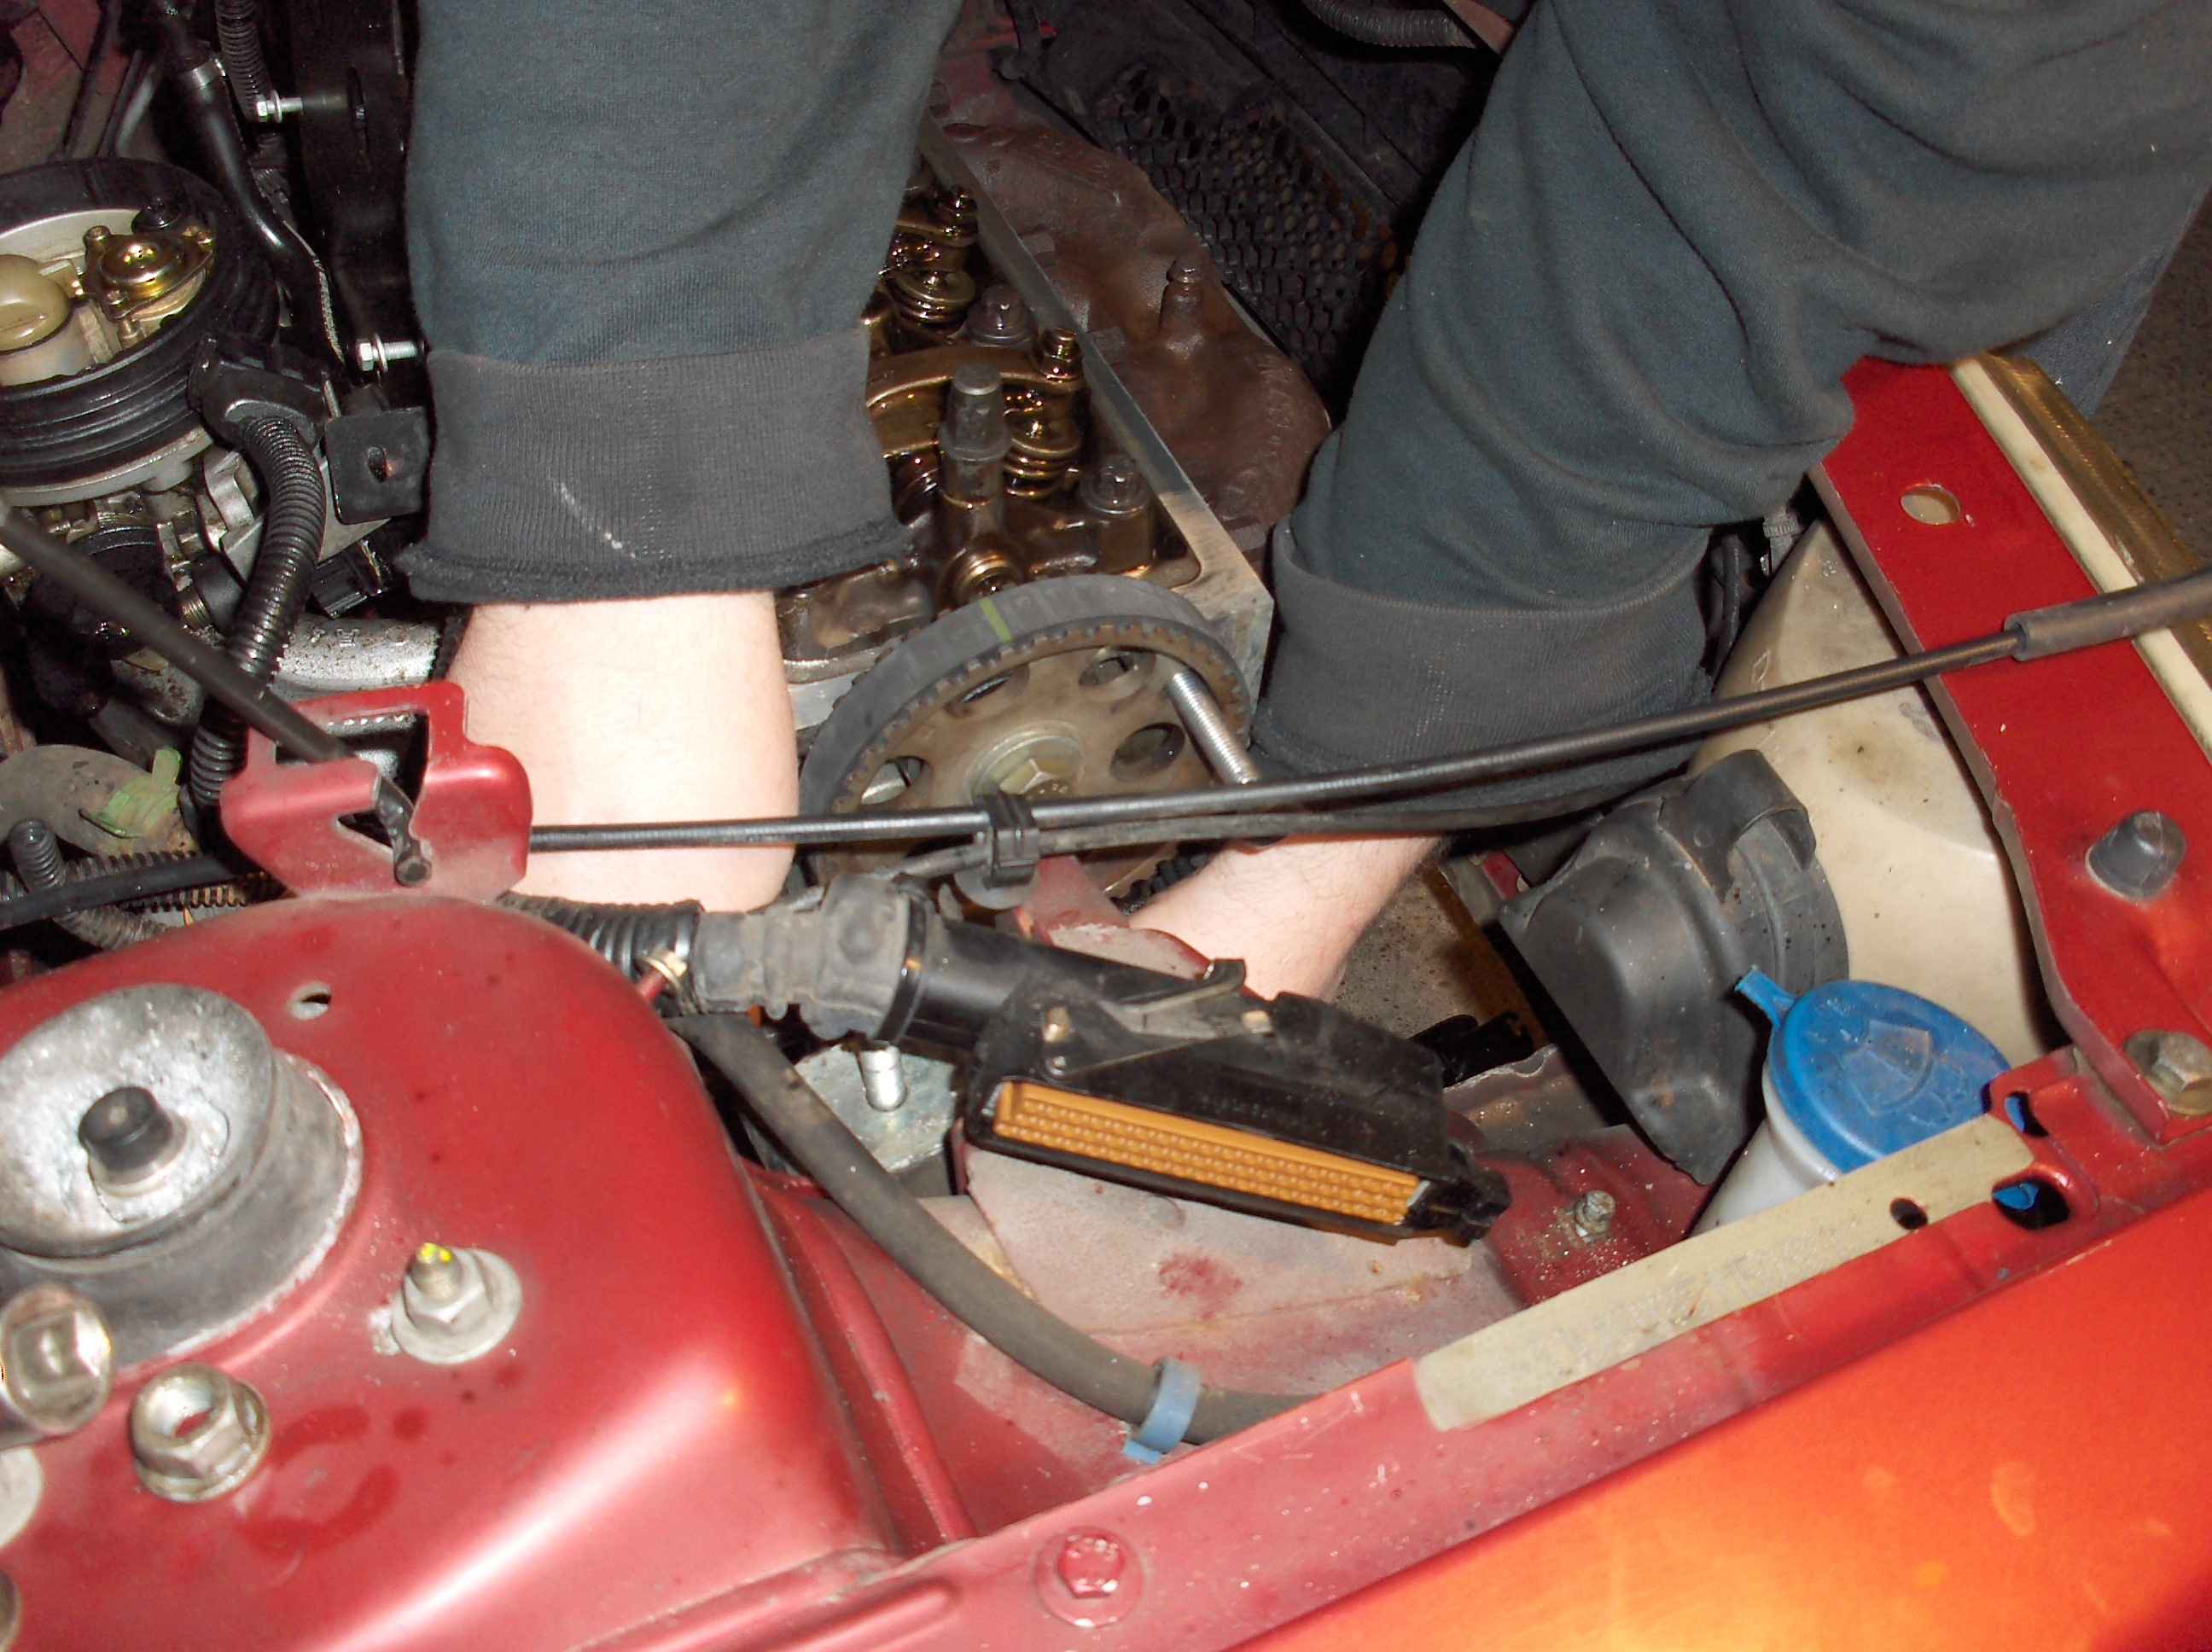
We rotated the crank till #1 TDC incidentally #1 in nearest the GEARBOX ??? and inserted a 6mm bolt into the locking hole next to the engine number to stop the crank moving. There is a similar hole in the Timing belt cam pully (10mm Bolt) and this was inserted to be sure we had it all lined up the way it would need to be when we put it back together. When we had done this we awaited our expert Graham to check it all and help us remove the head.
I had been unable to remove the timing belt cover fully. Graham looked at it and decided we need to drop the engine to be able to do it. Why is there always a bolt too far up and down with sod all clearance that you just can't get to. This could wait till we had removed and replace the head. We removed the timing belt from the cam pully and removed the head..
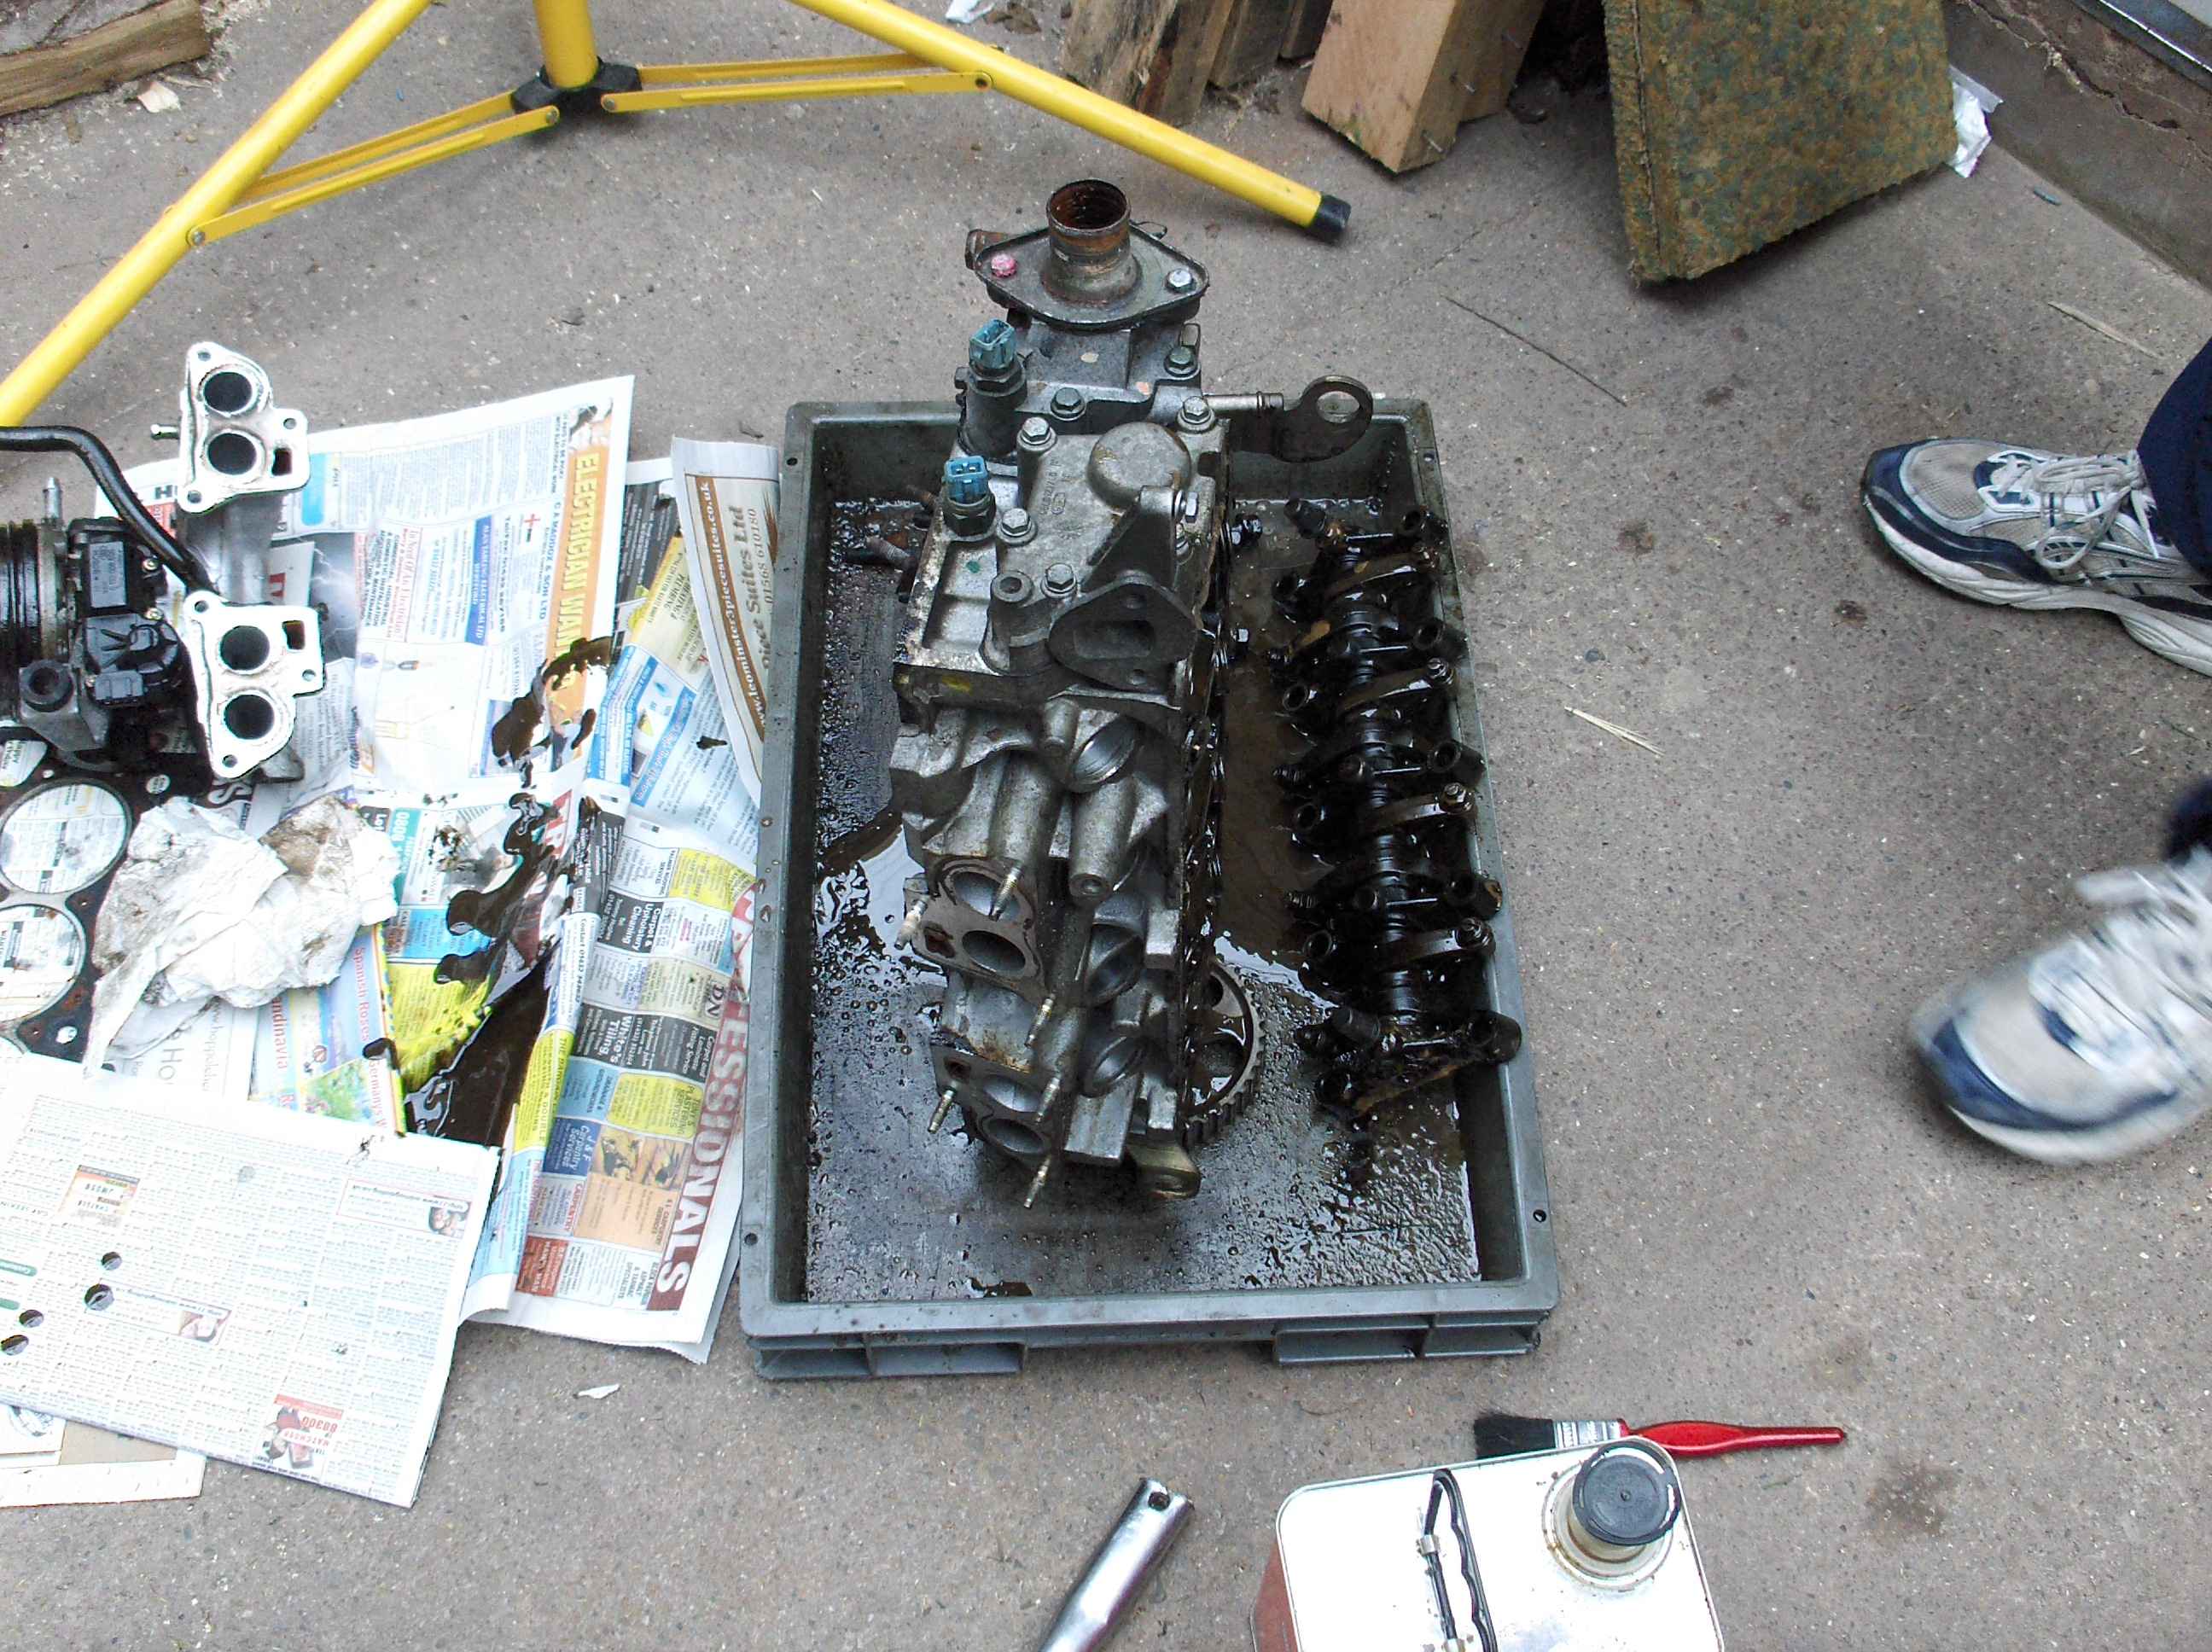
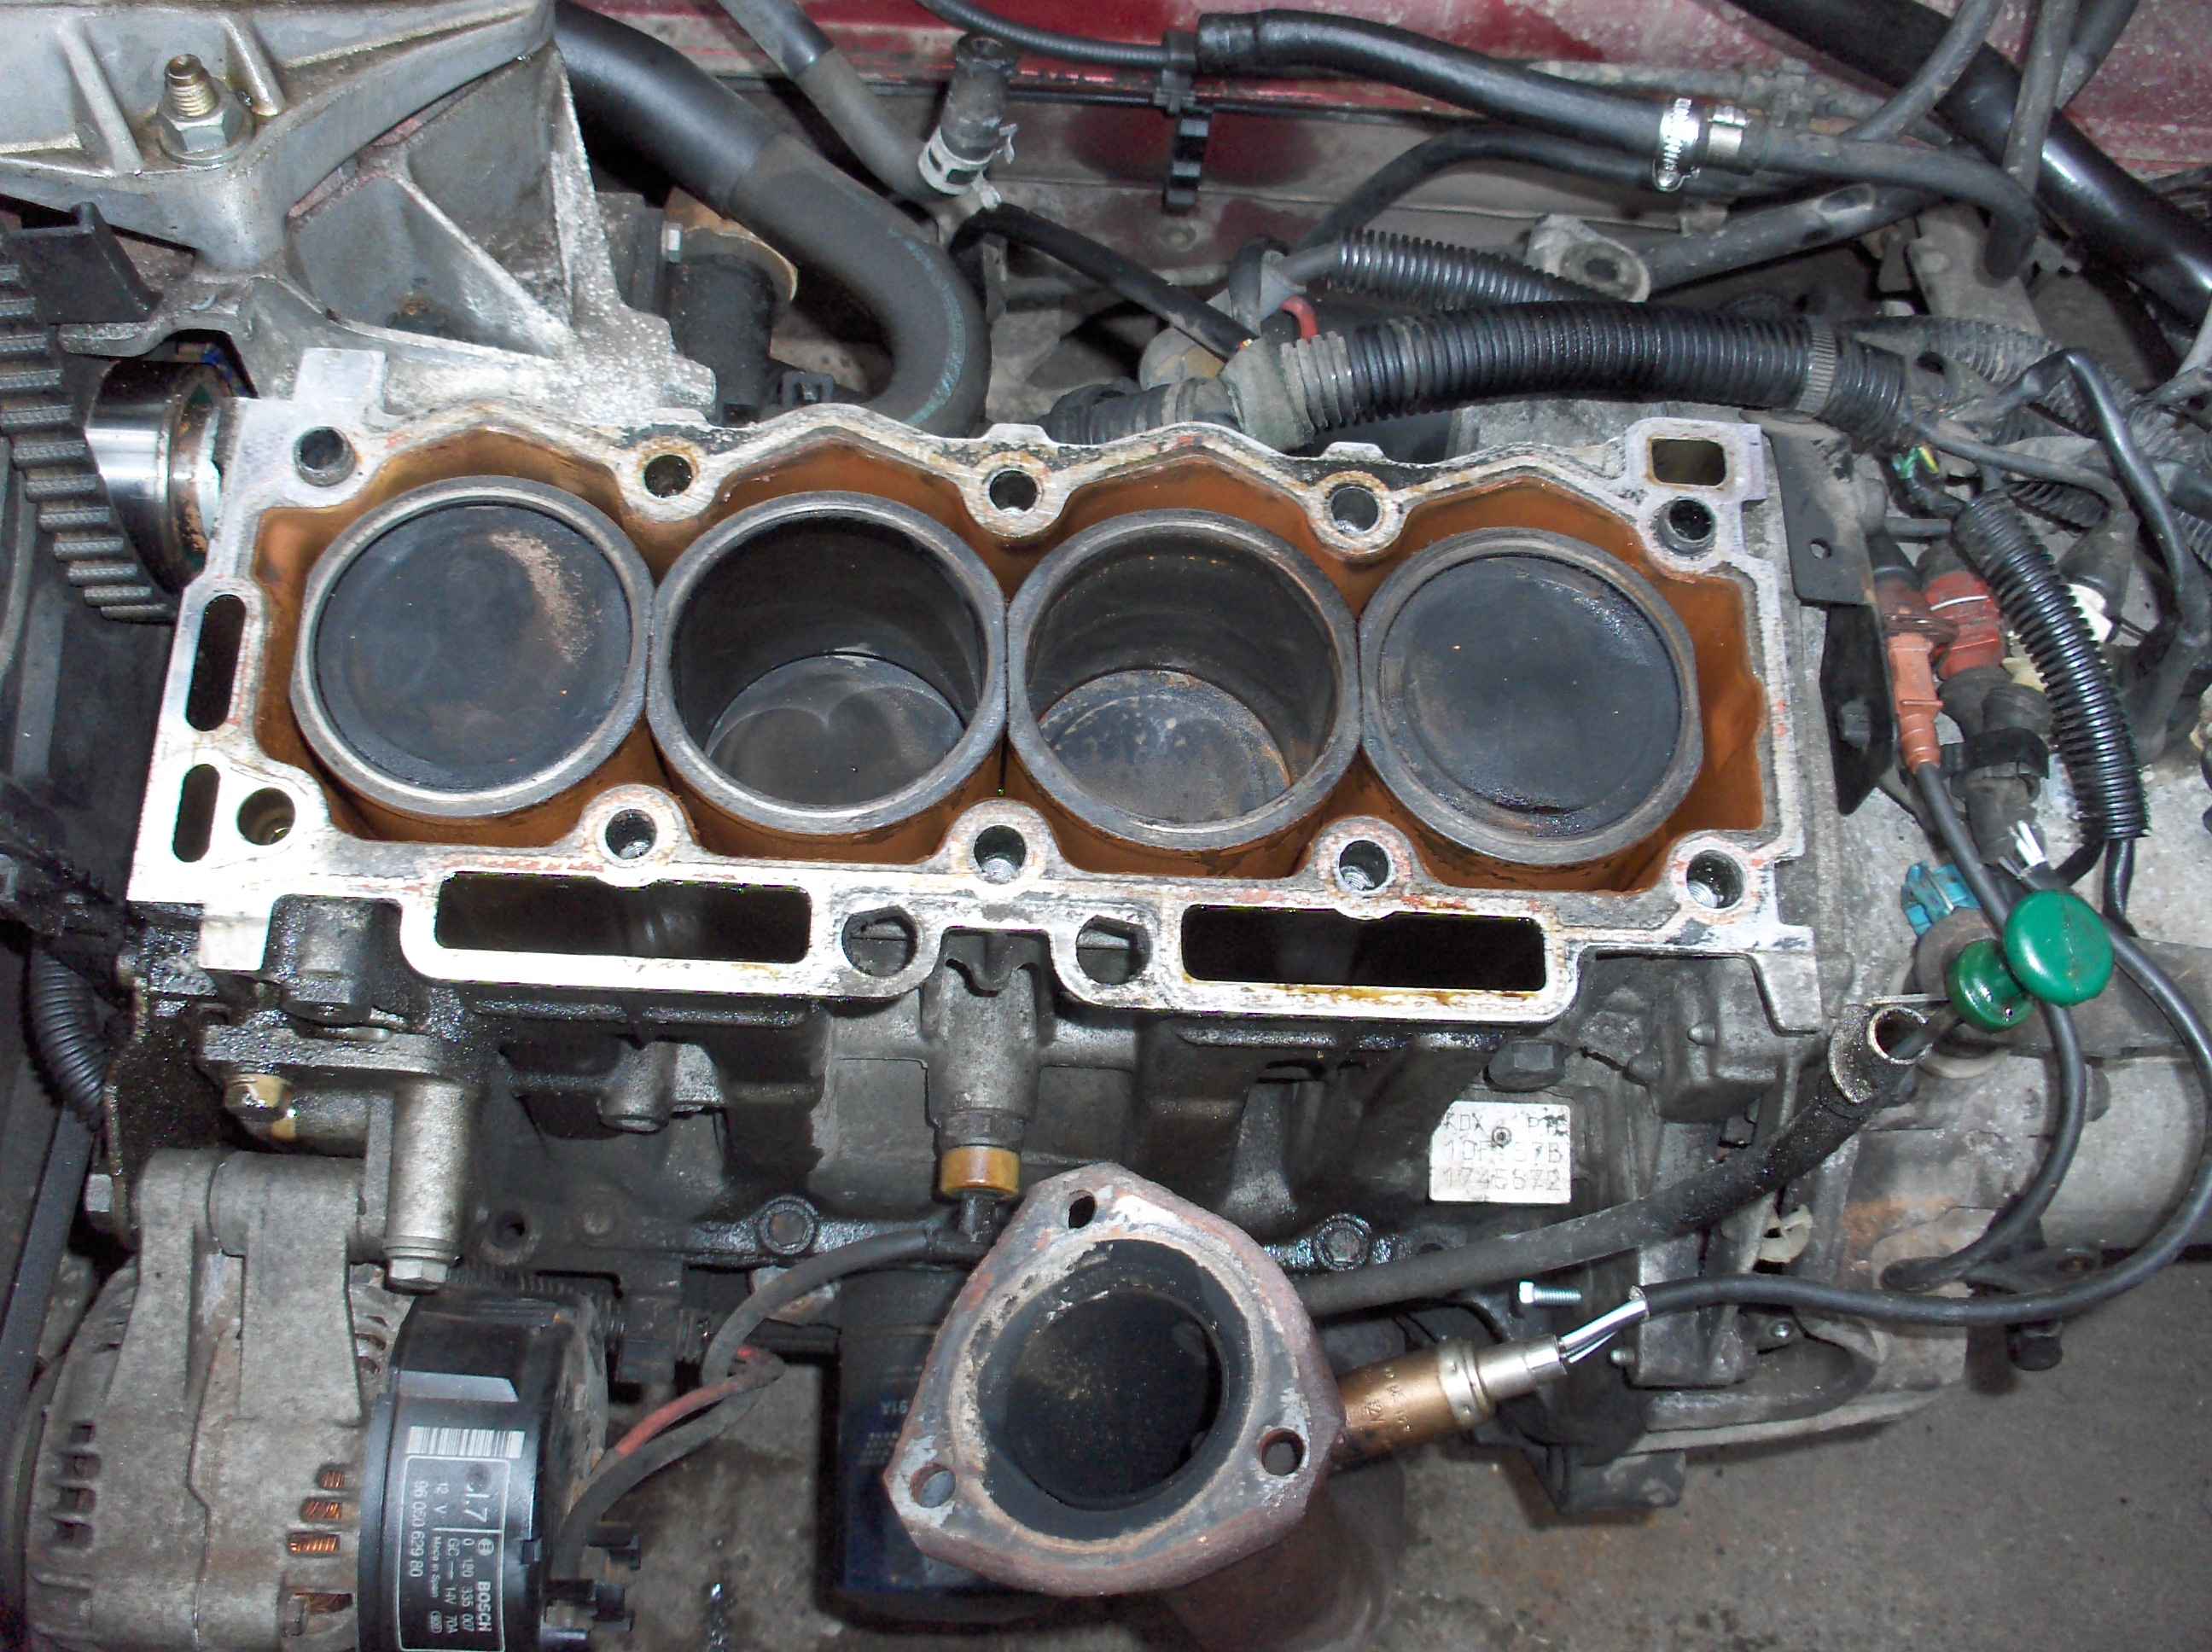
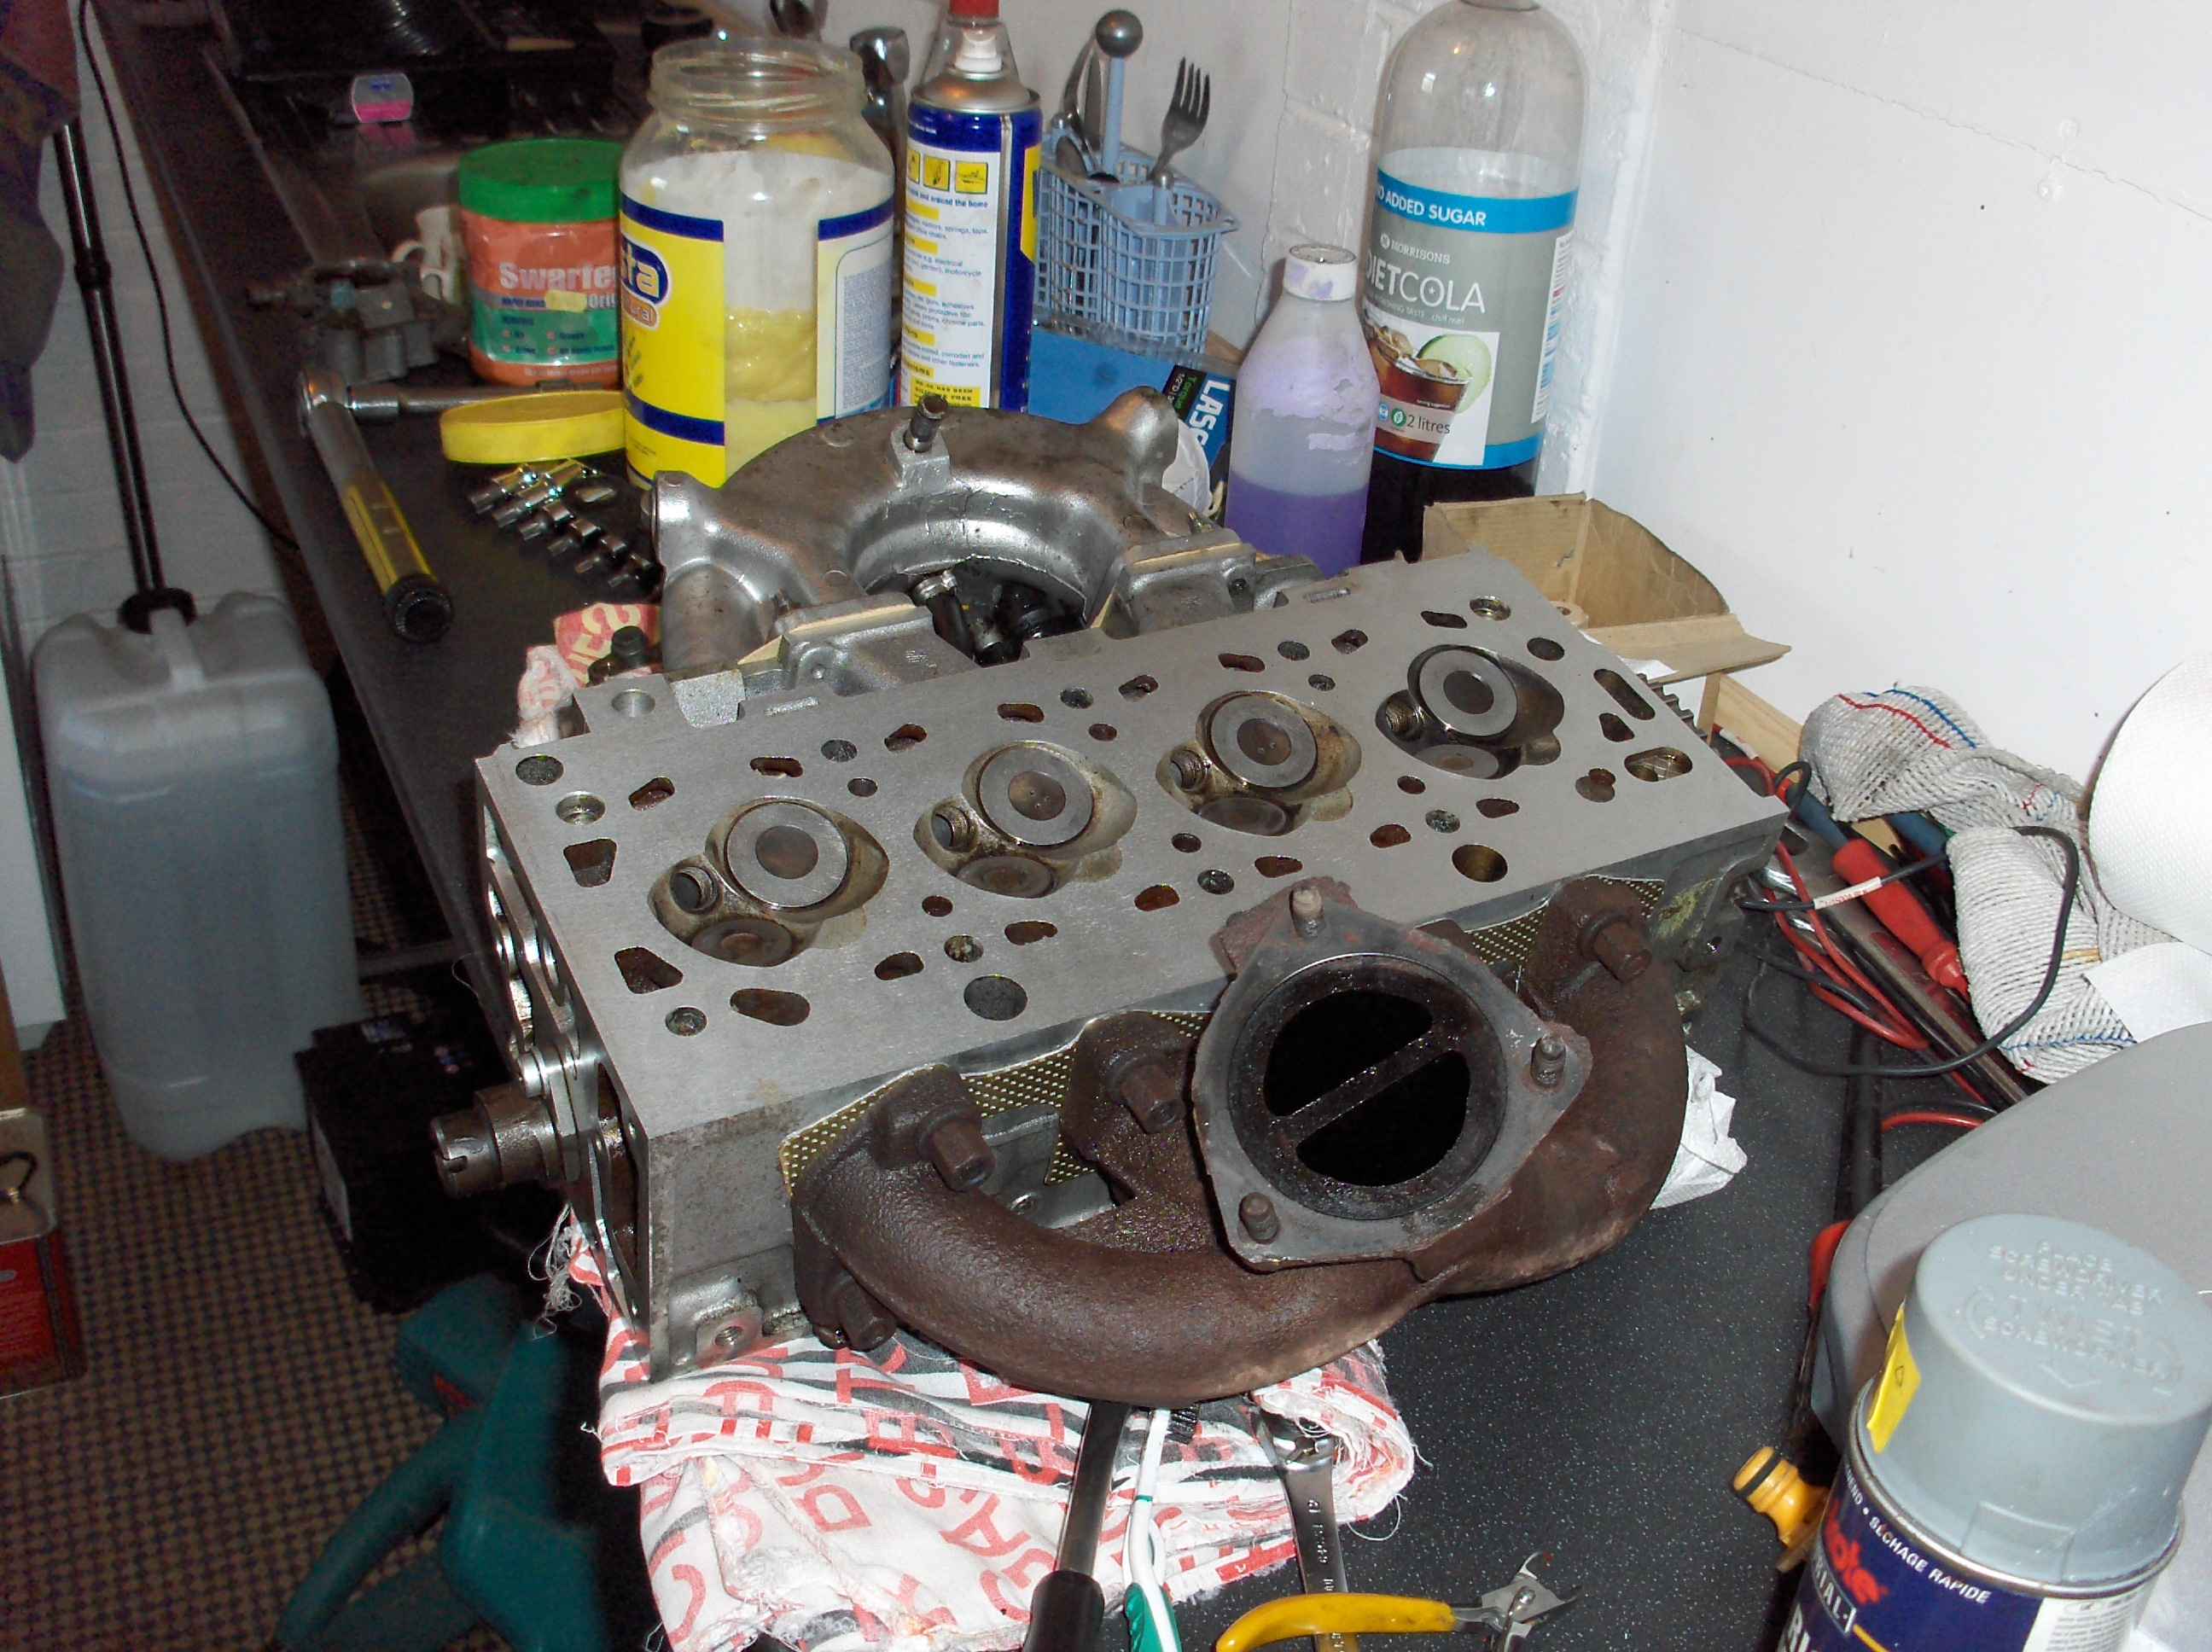
The head was removed with both manifolds still attached as this is the easiest way, the manifolds were removed after the heas was clear of the engine. We cleaned the head and all mating surfaces. First with Diesel (farming stock see always loads of red diesel around) then petrol and by the time the whole job was over 6 rolls of kitchen paper.
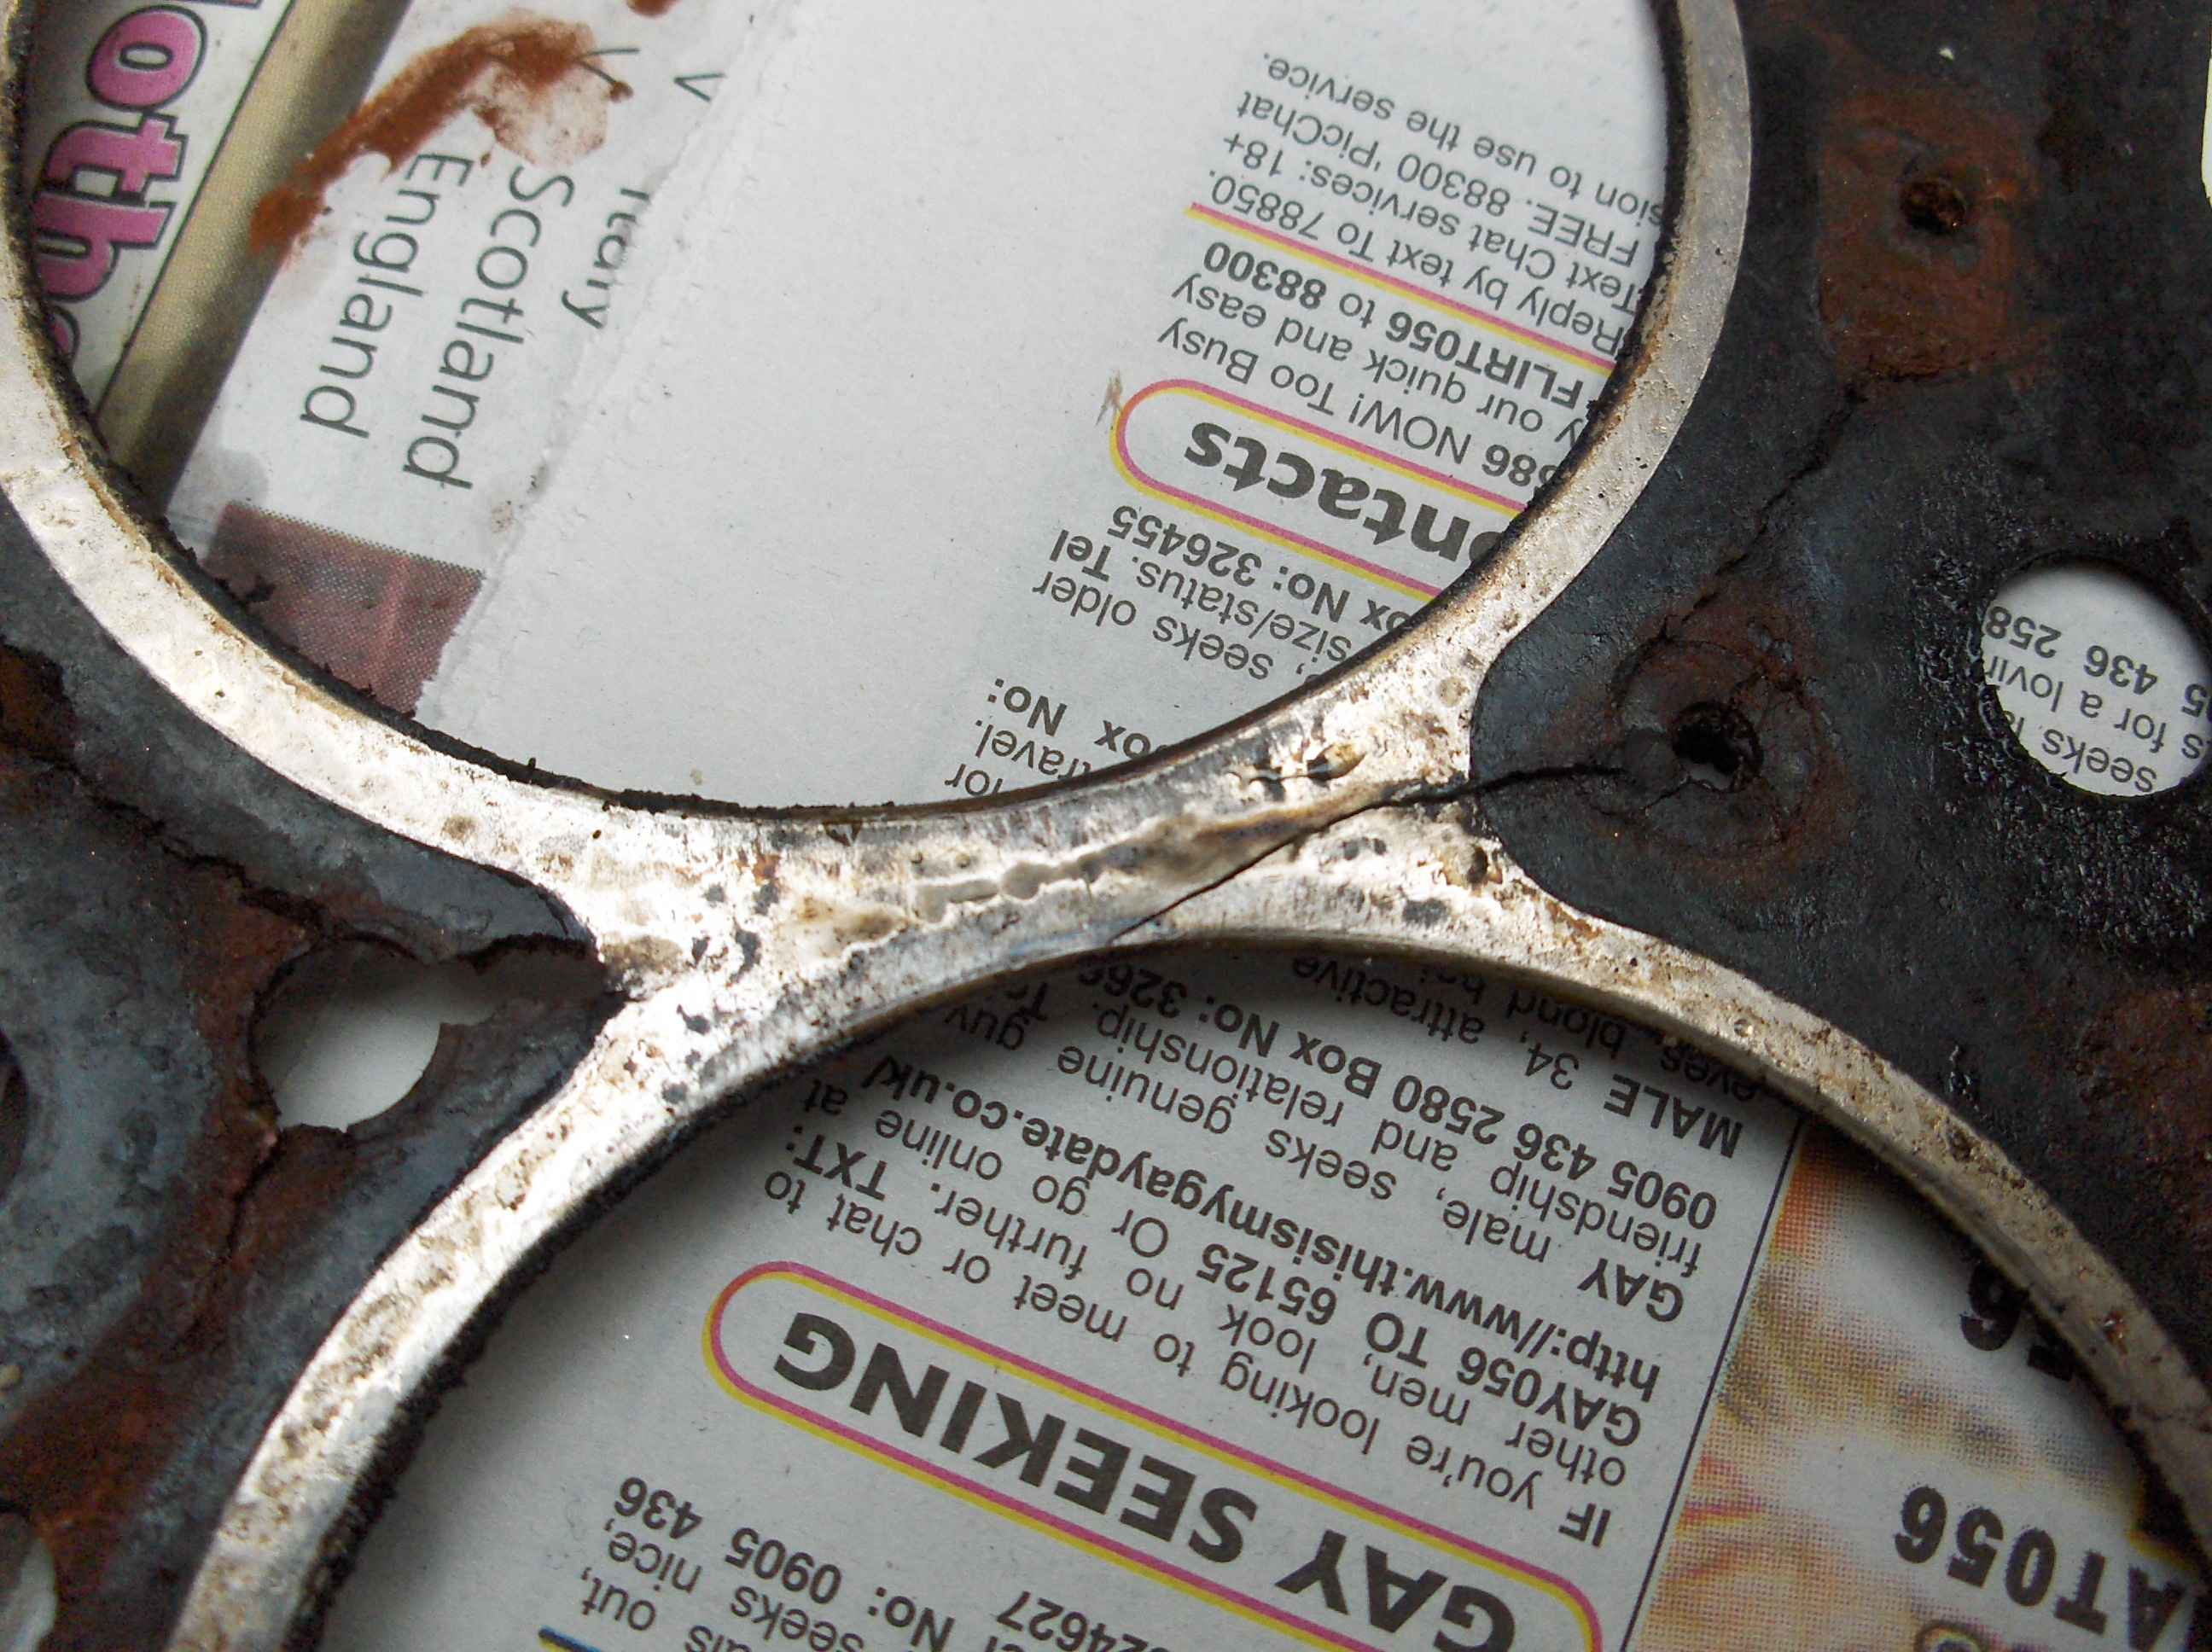
Here is the culprit. How did I manage to get that advert so perfectly placed.
The starter motor had been making a horrid noise, occasionally taking shedloads of current and doing sod all. I hate cars, so we decided to replace that at the same time £25 from the scrappy.
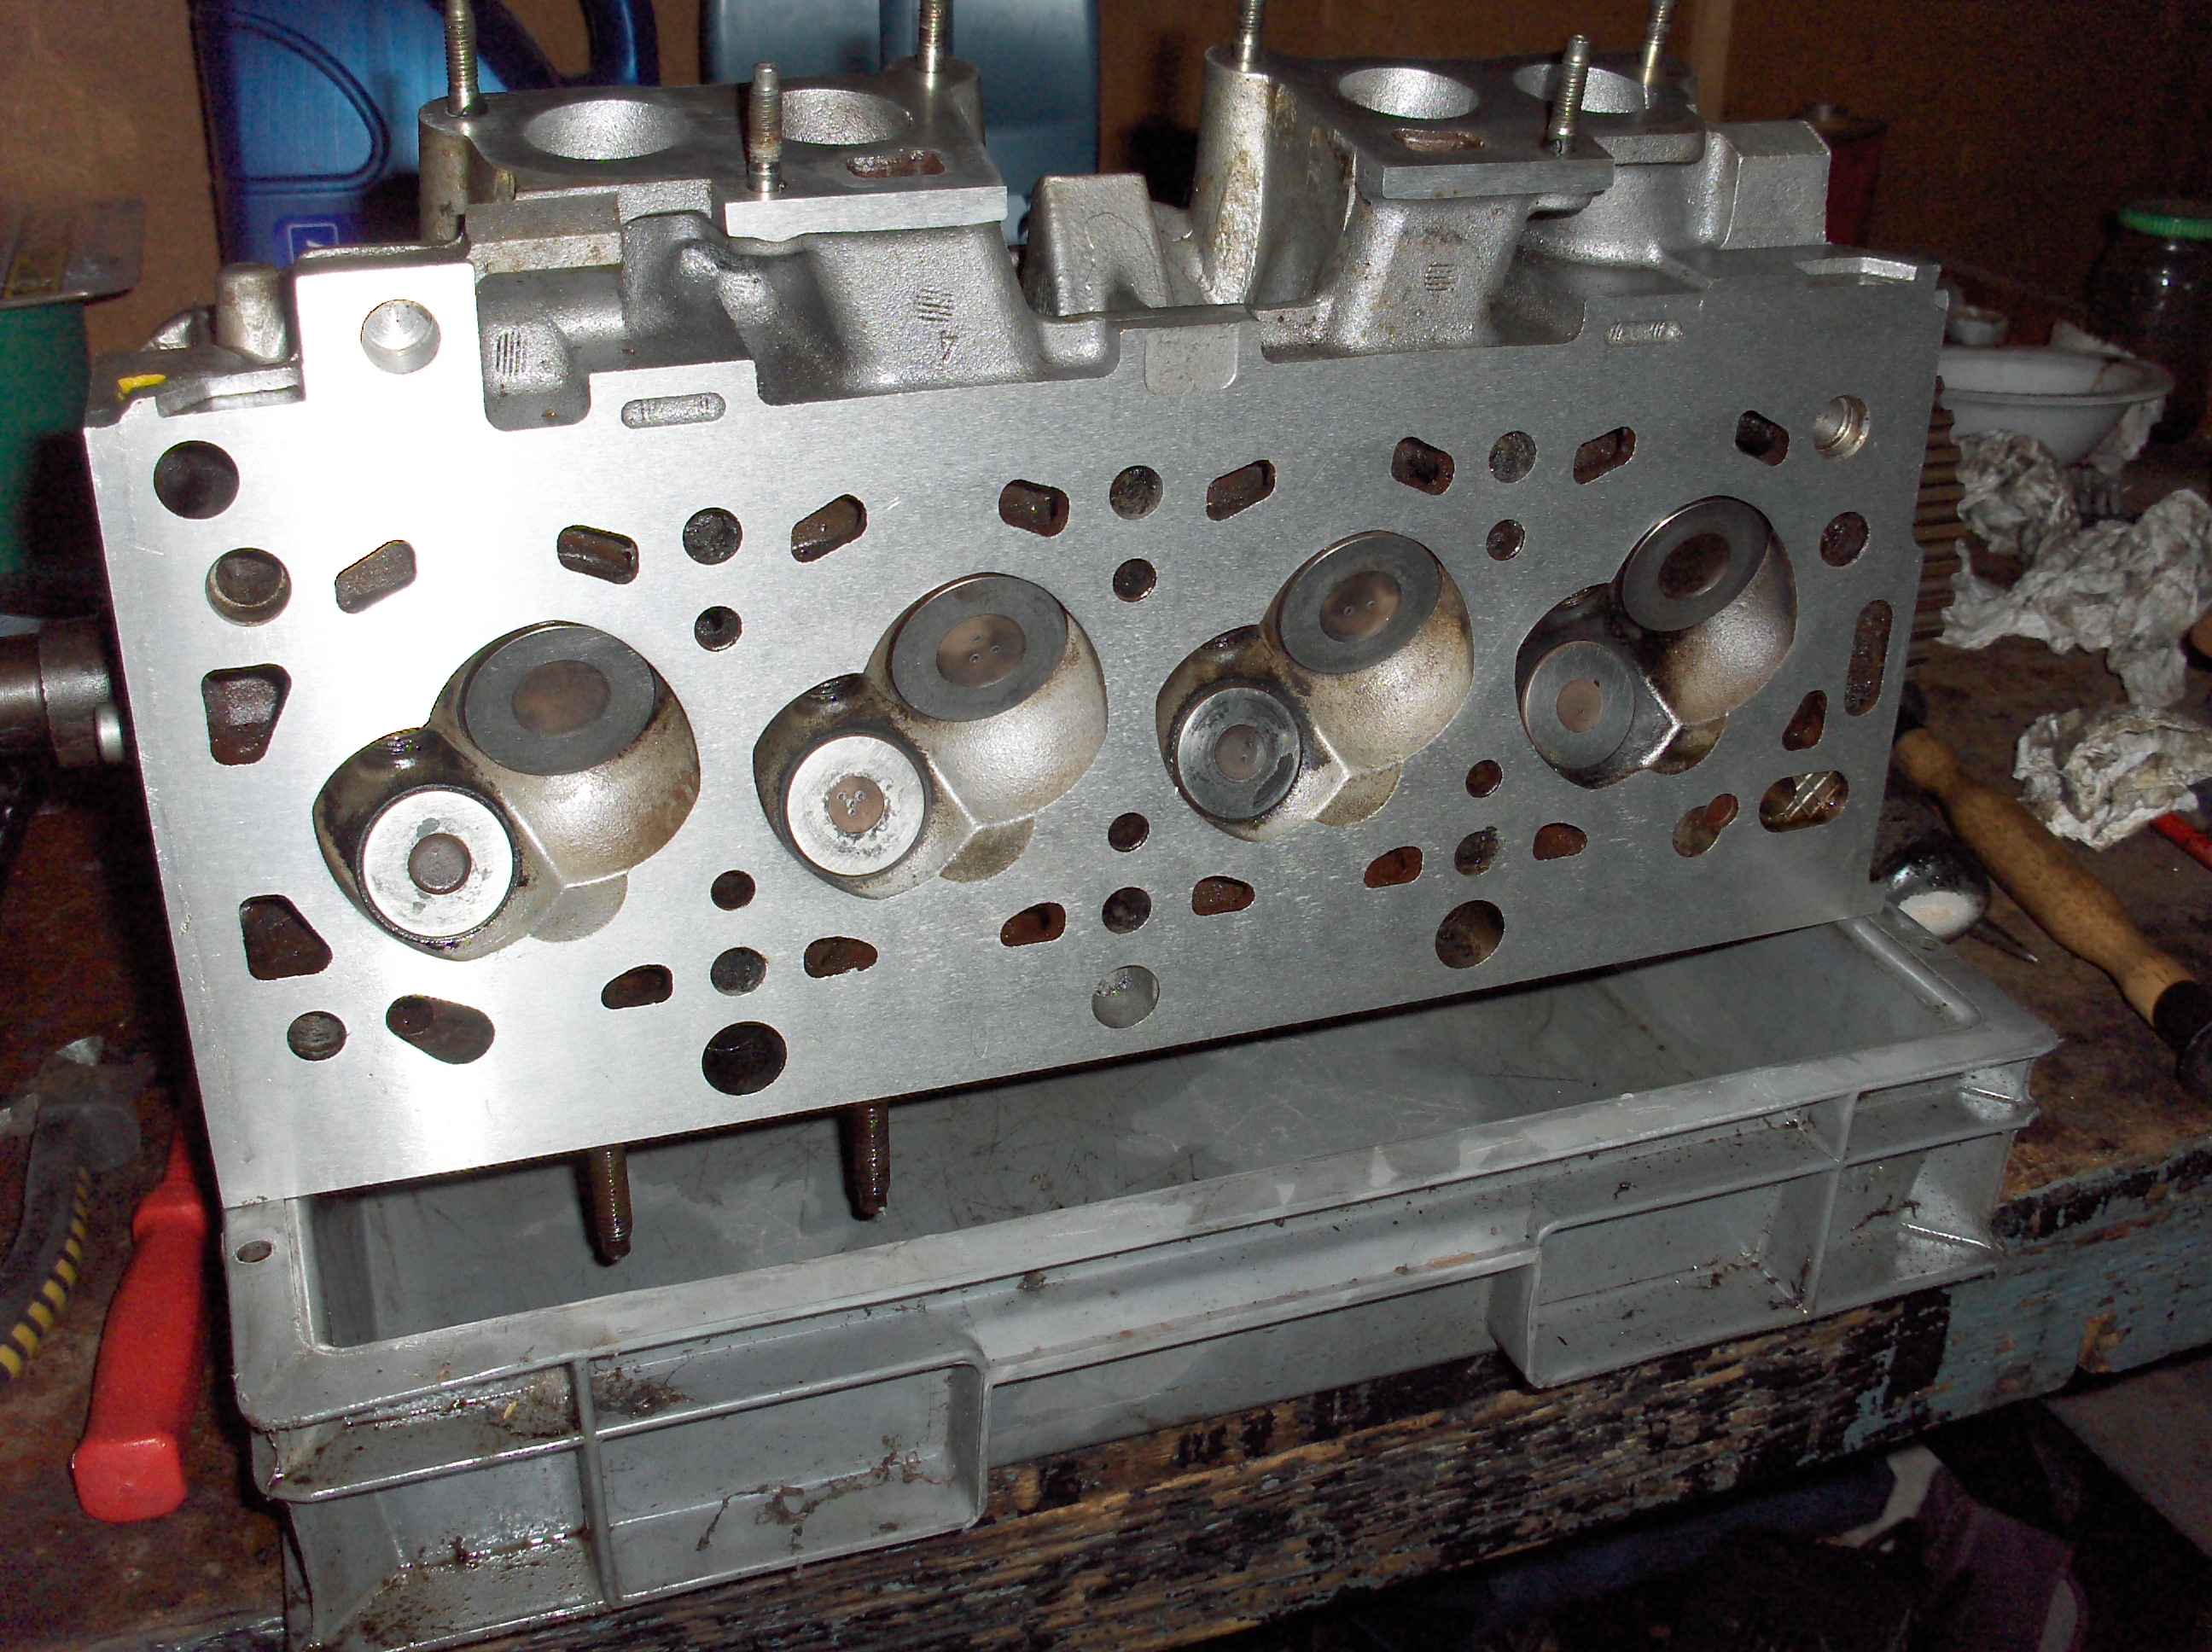
If you have had a head gasket problem and have to replace it you may as well have have the head skimmed. mmm shiney...
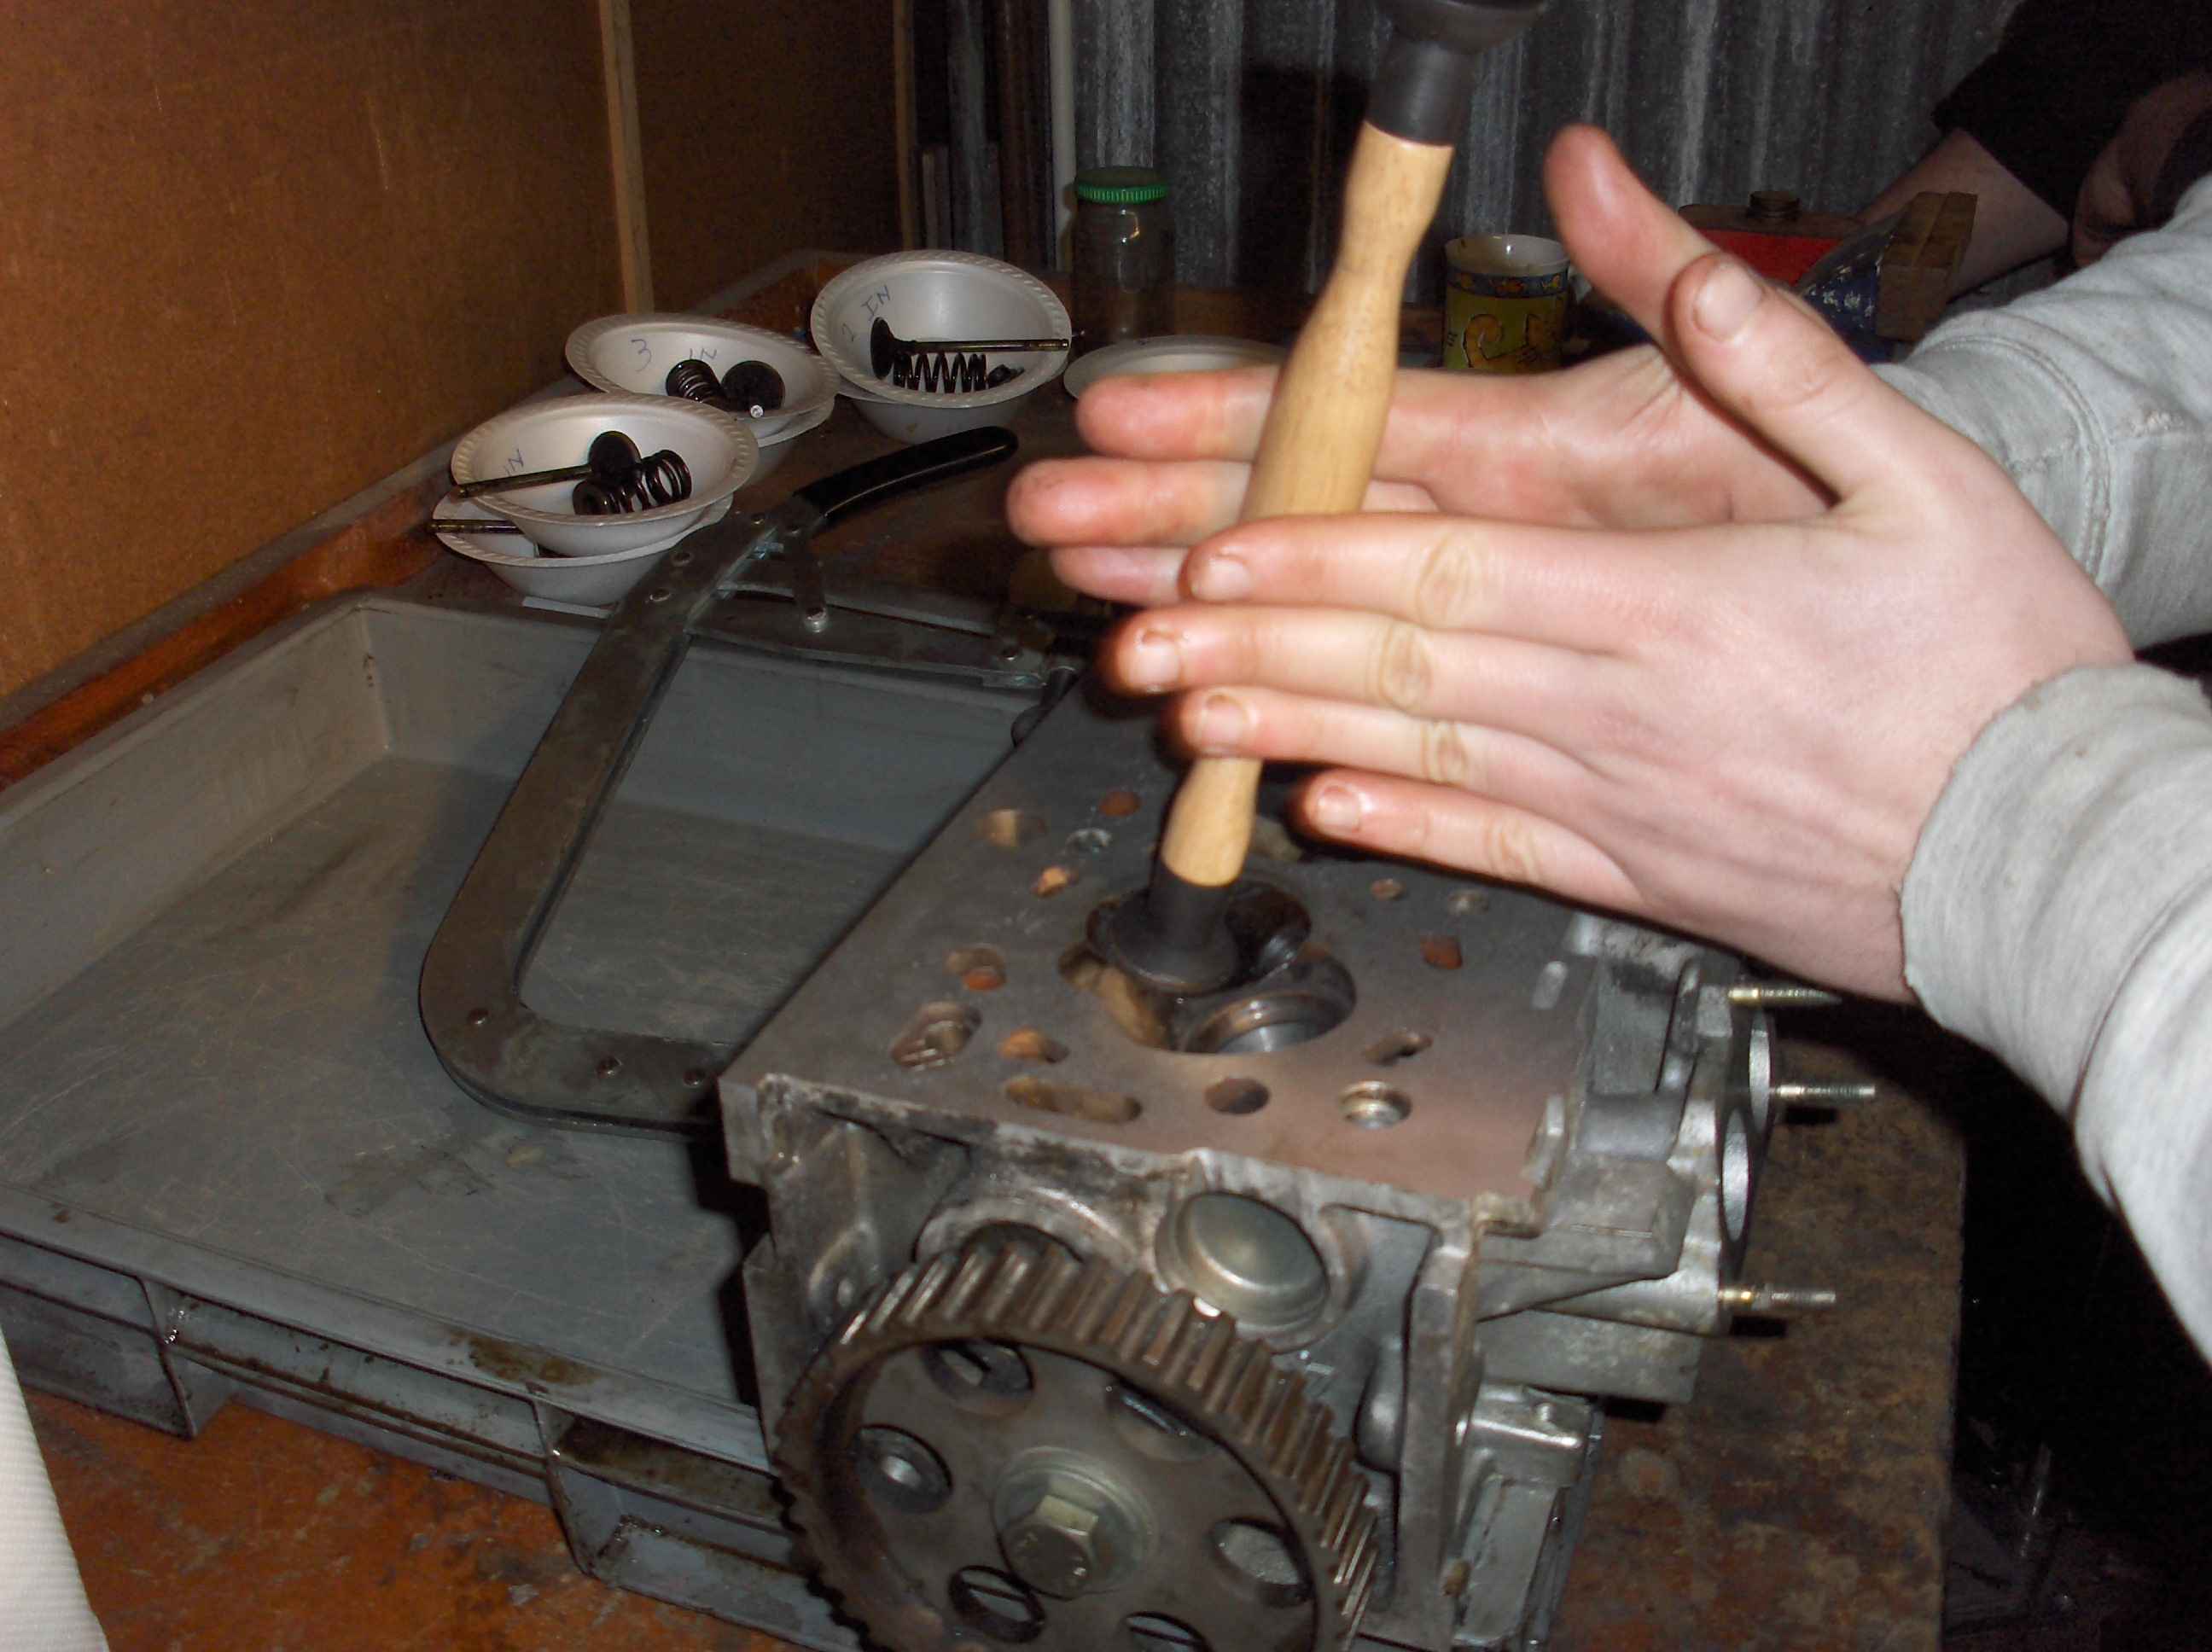
We had the head skimmed with the valves still in it. After it's return we removed the valves and reground the seats of all of them (Actually rob did) 'cos me and Graham had to go to work for 4 12hr days.
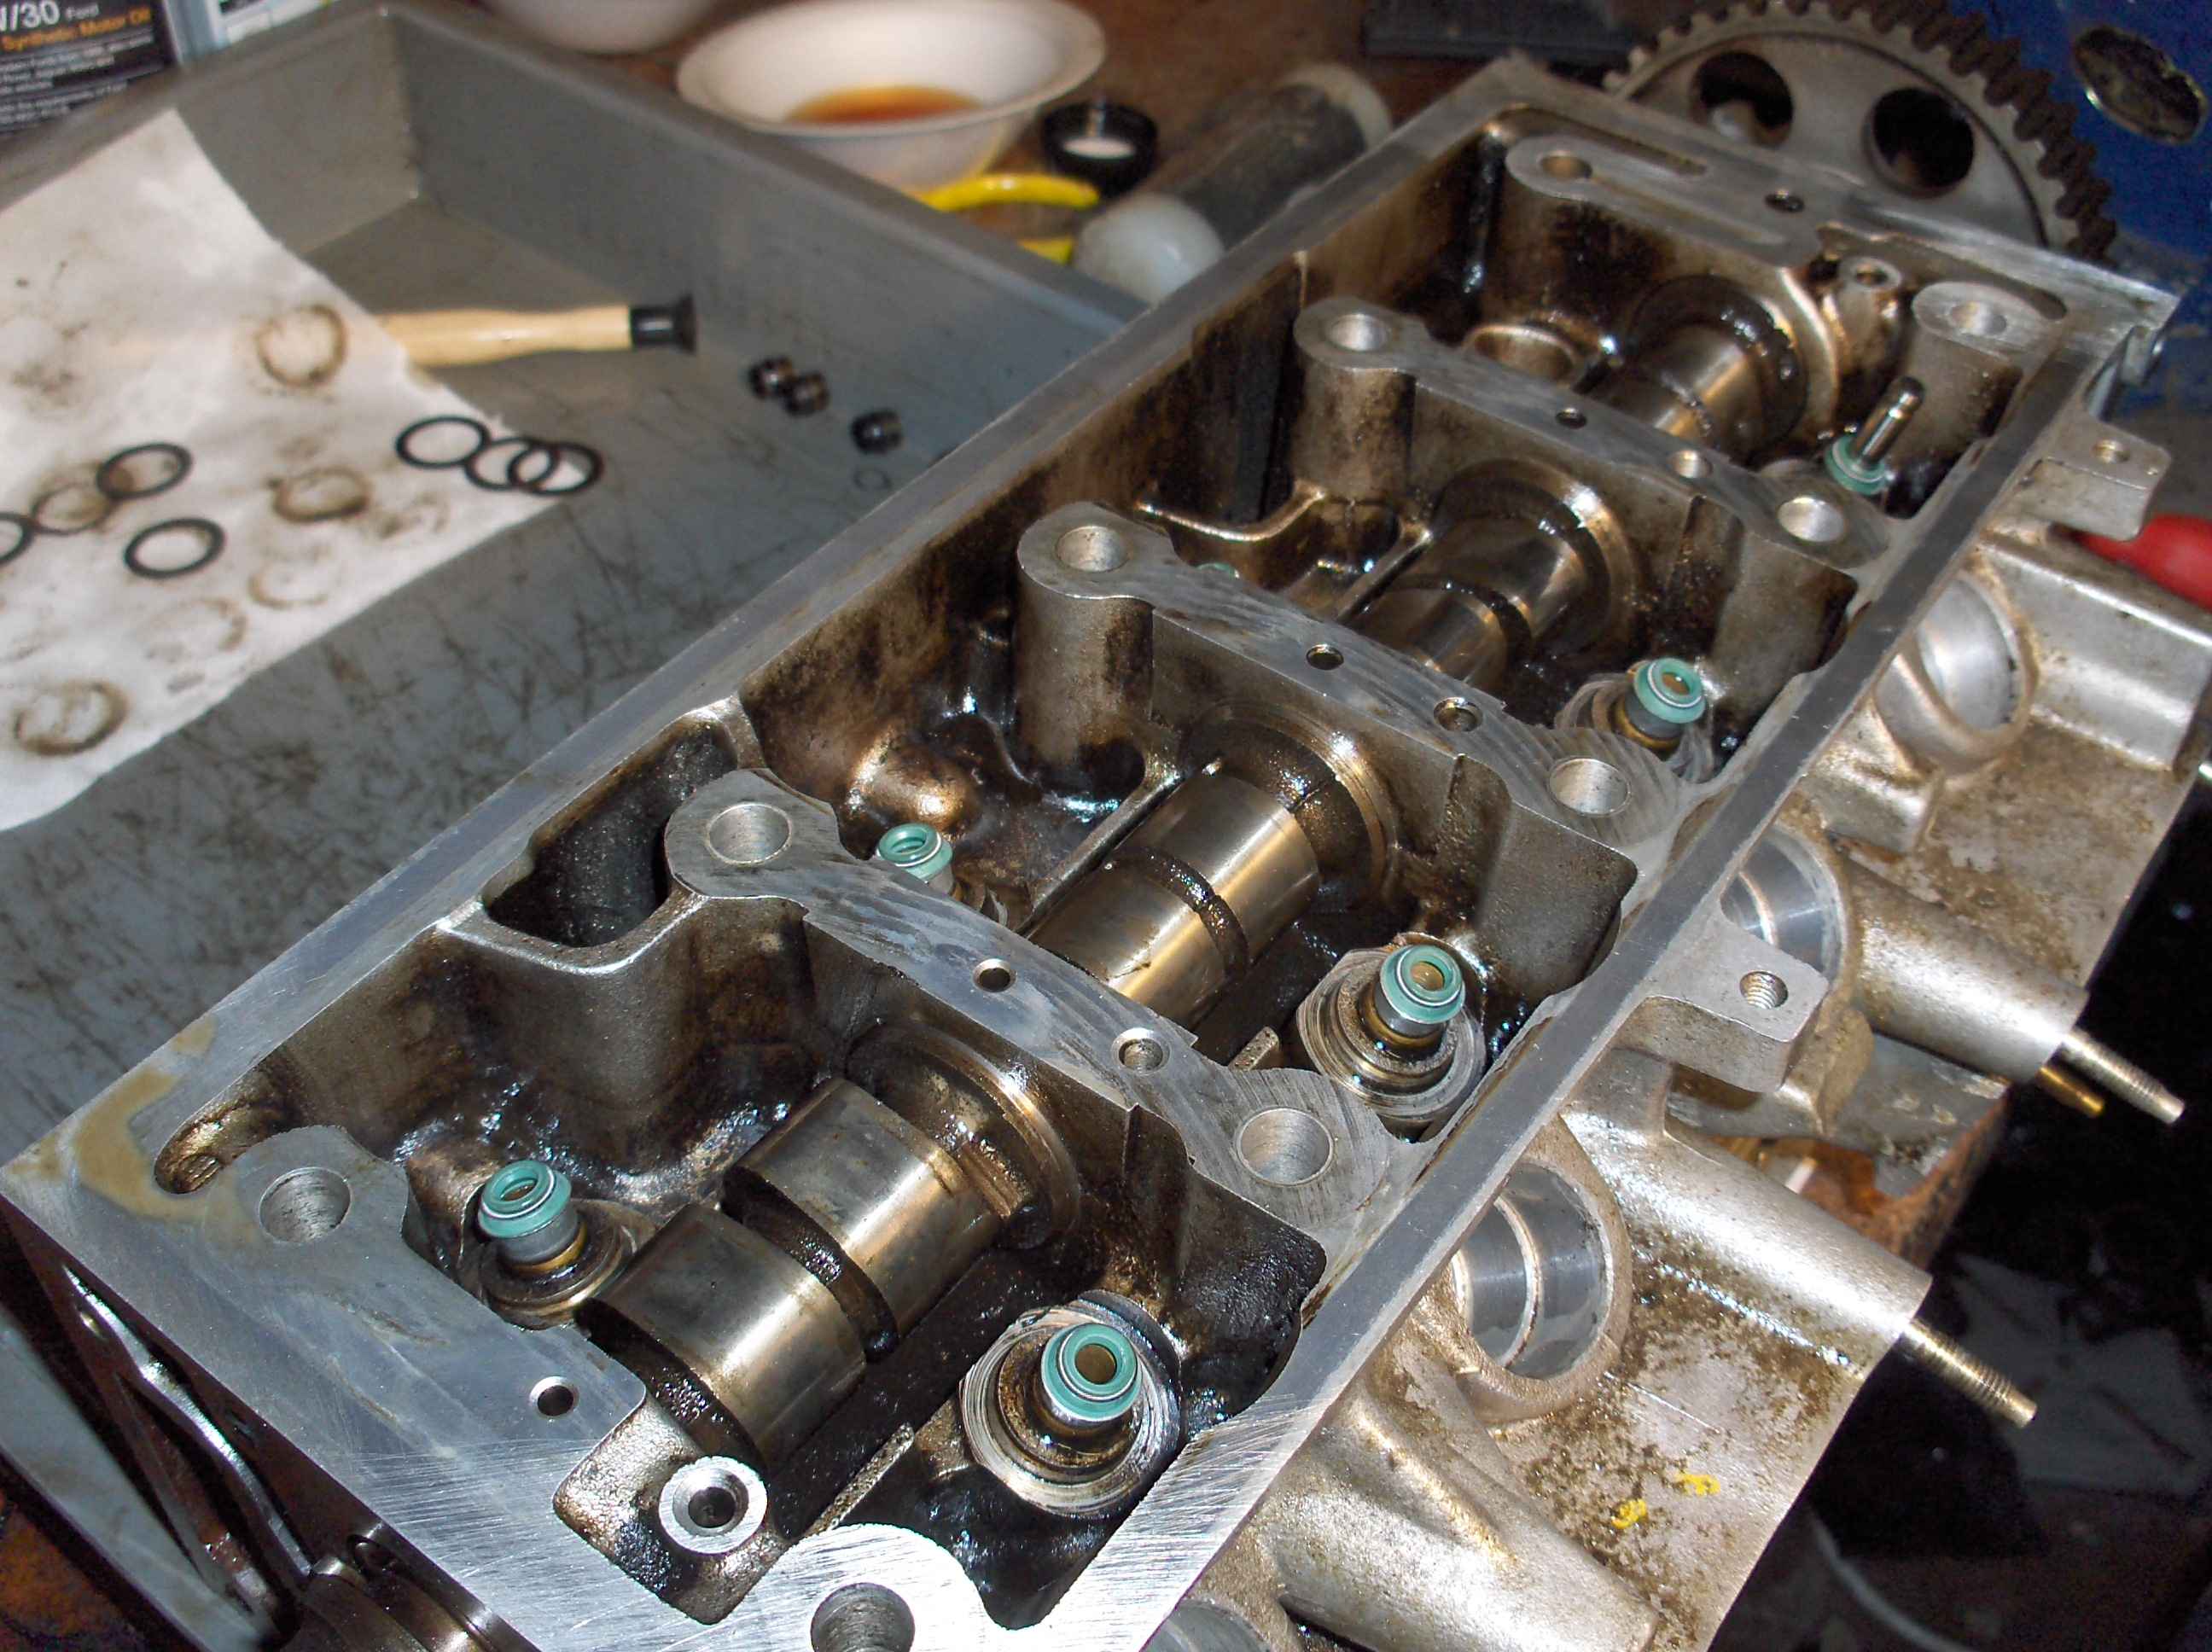
We then changed the valve oil seals
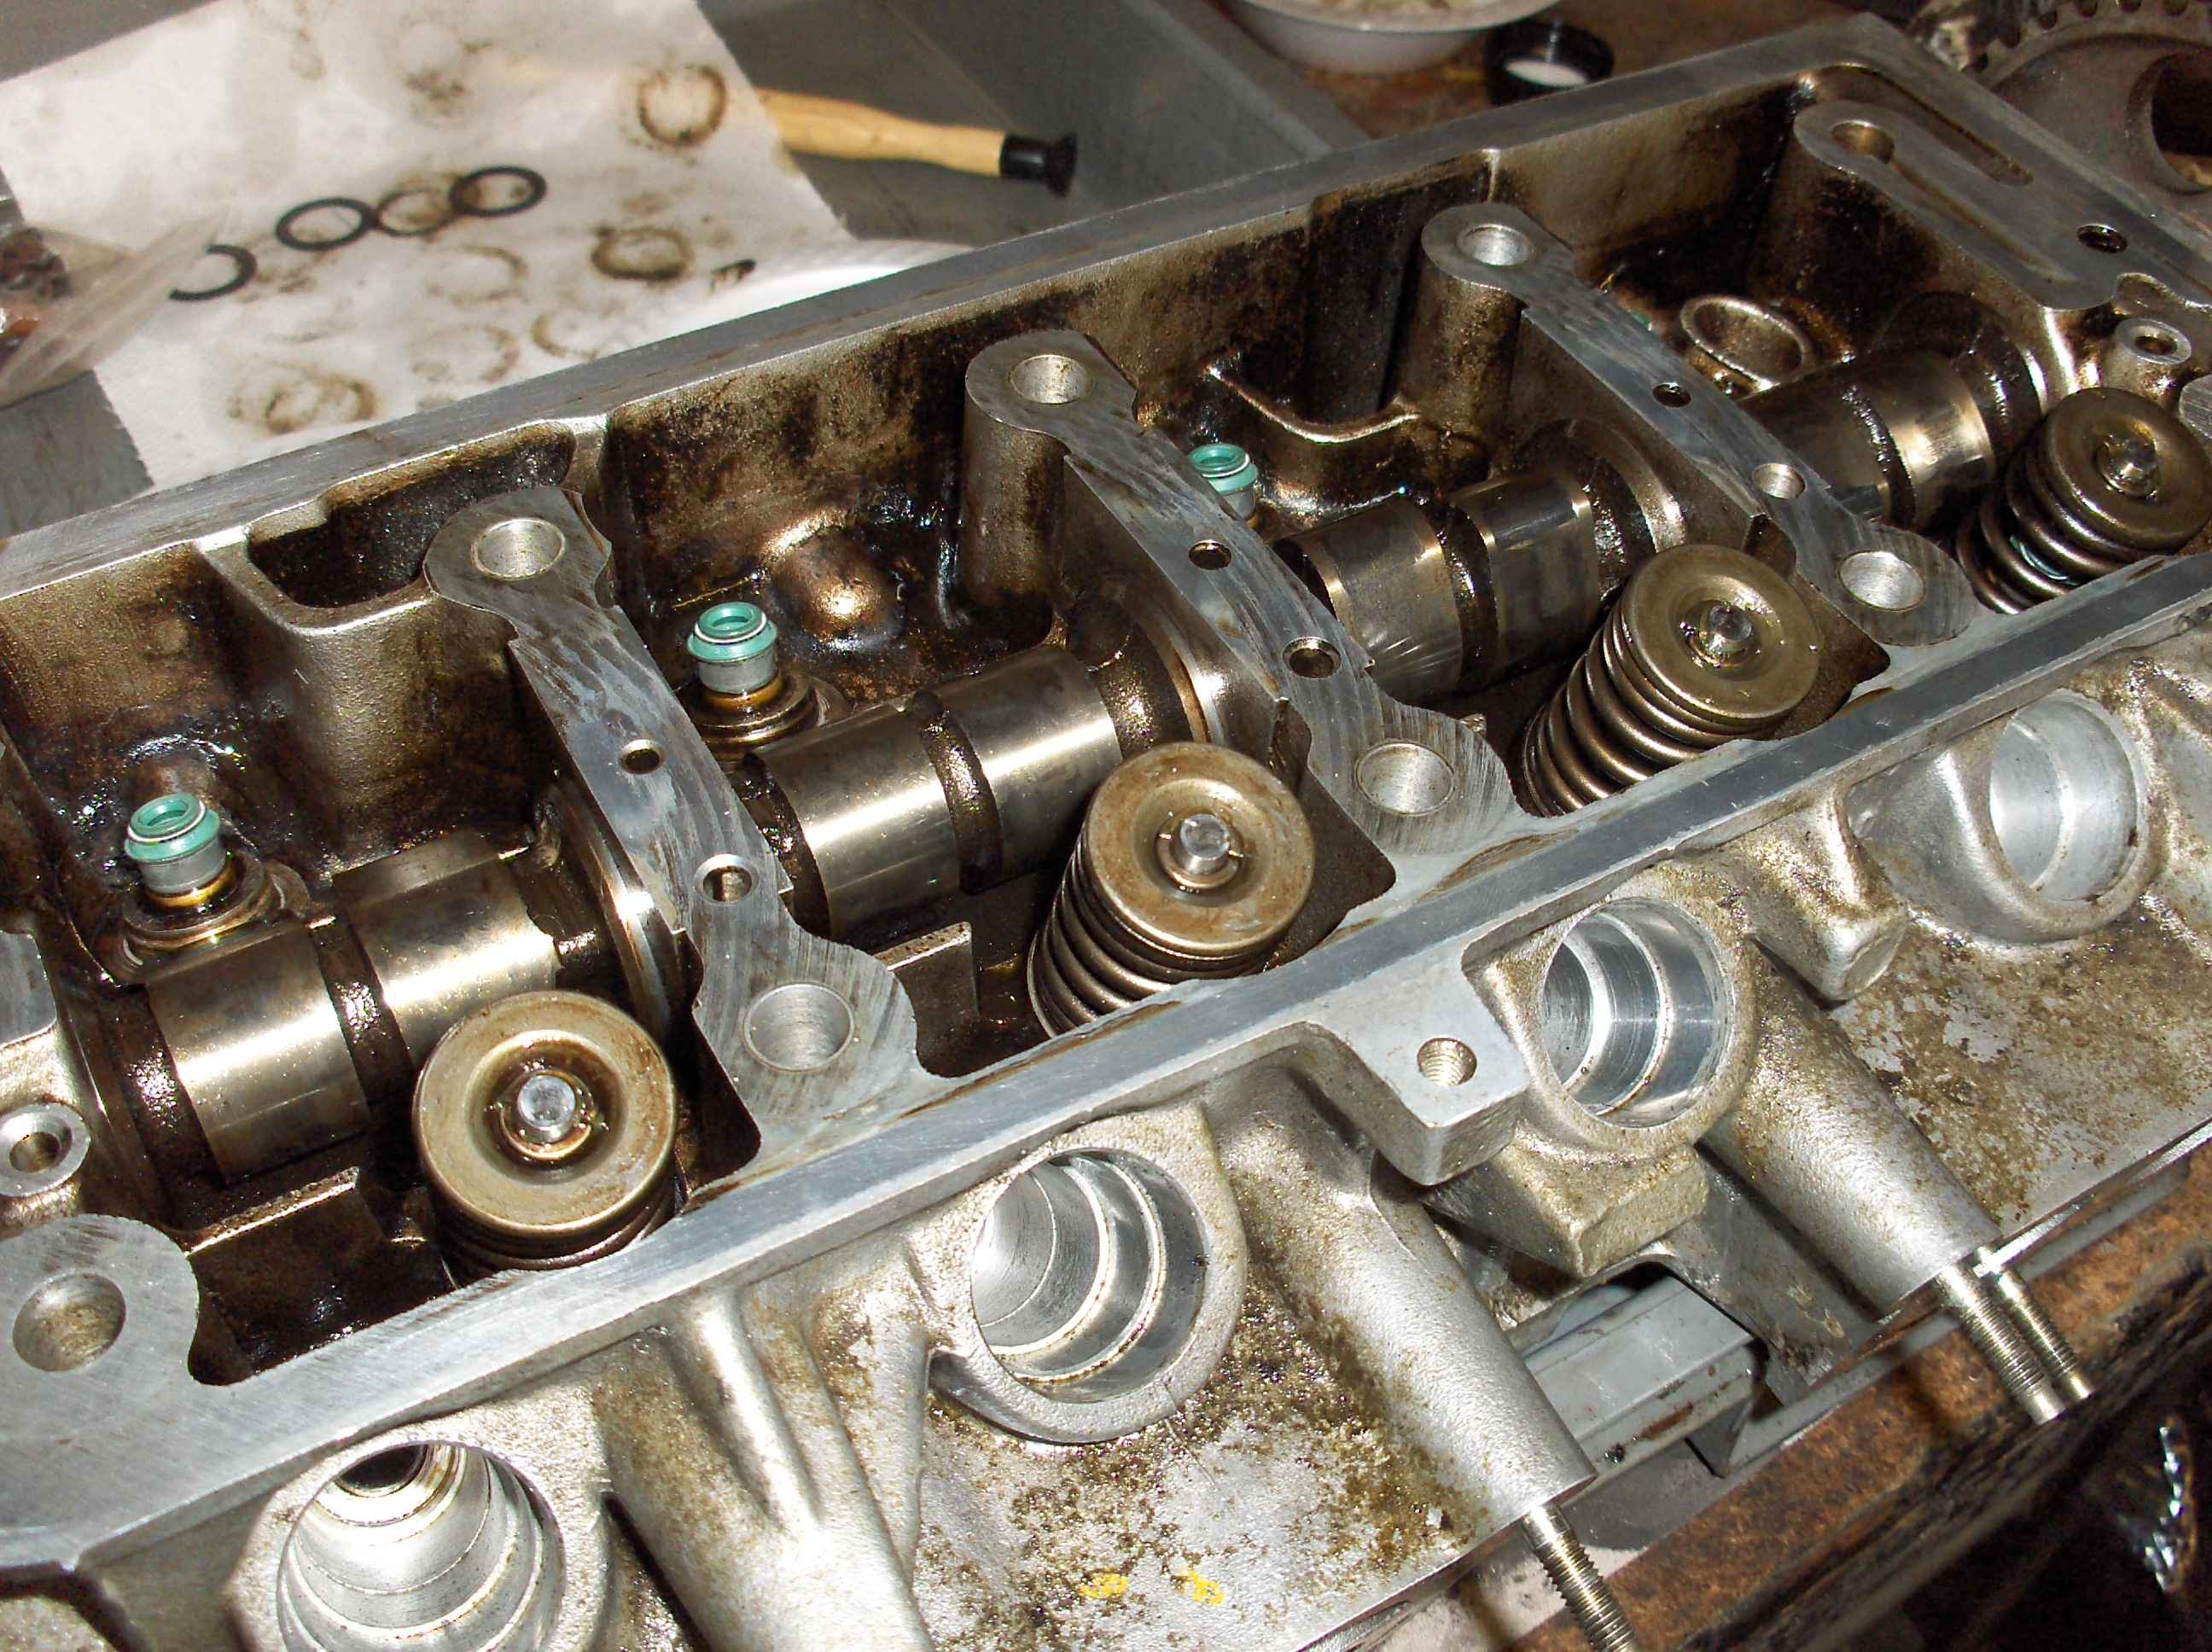
and re-assembled them.
To check the valve seat we filled the inlet and outlet manifold ducts with petrol and looked for leaks. This is the inlet valve being checked no leaks. (yes same picture as above I forgot to take the before valves removed piccy)
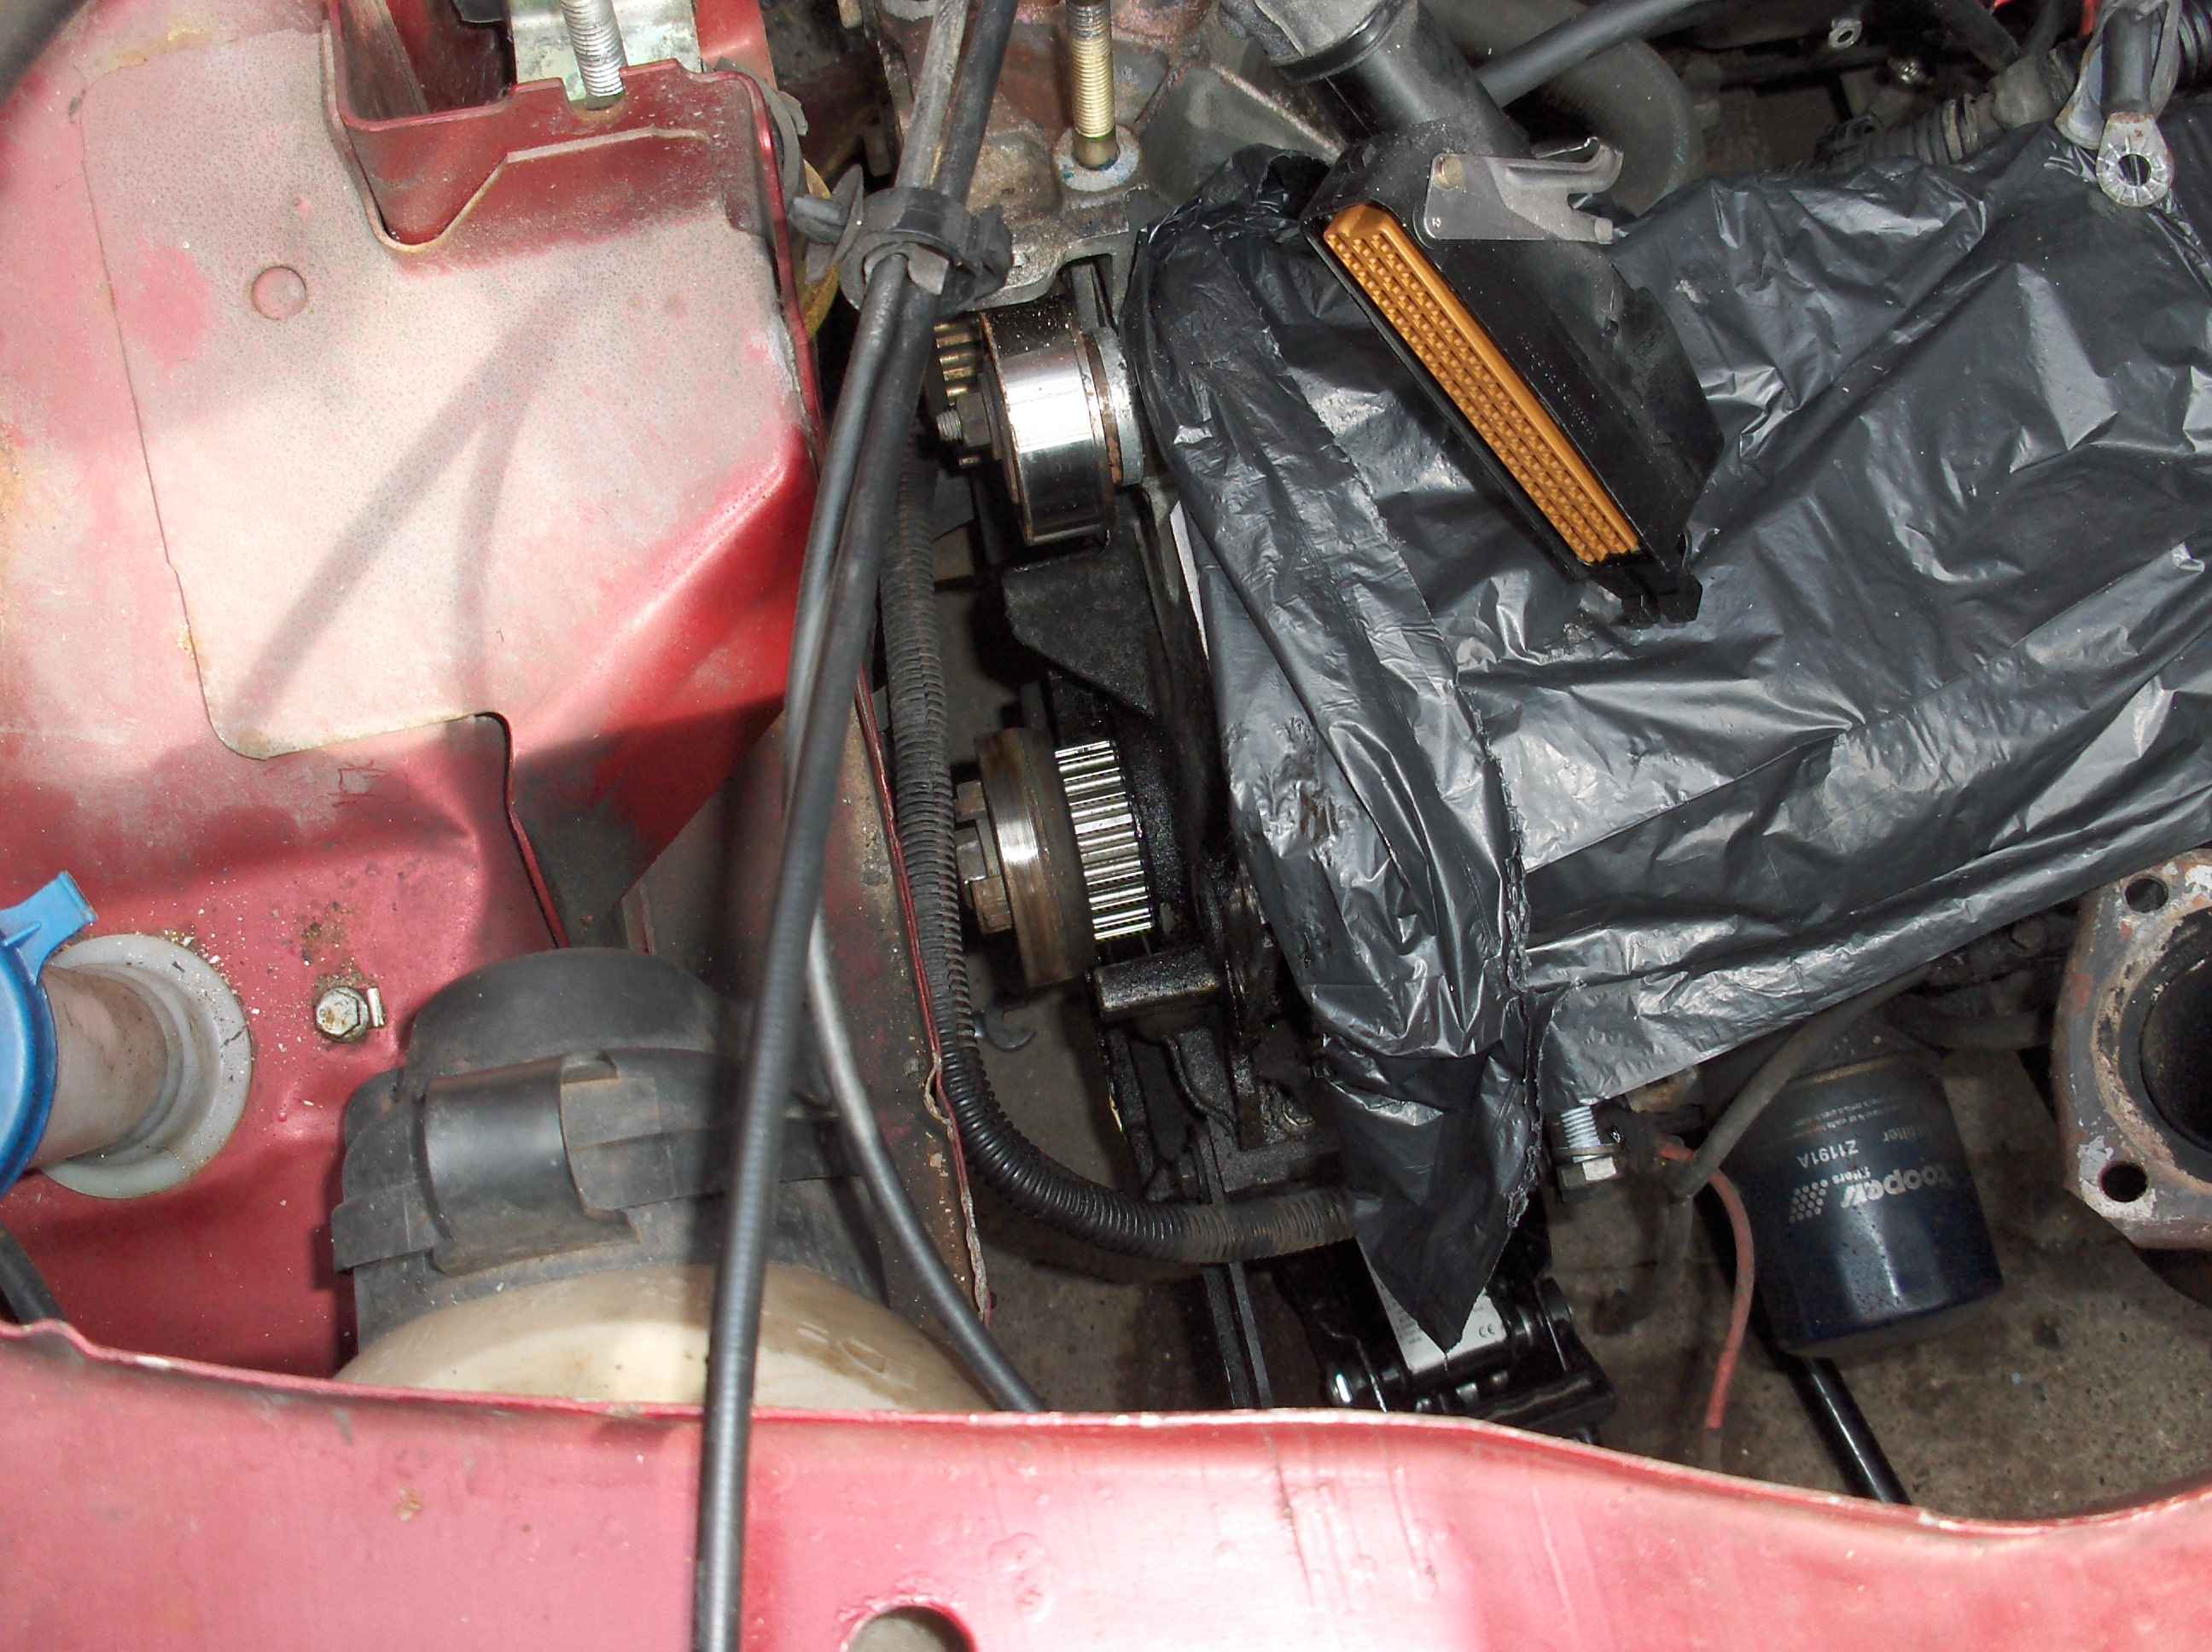
On the Monday after work Graham arrived and got all keen to remove the timing belt. he removed the ECU and engine mount dropped the engine, removed the timing cover and the old belt, while rob and I were finishing cleaning the surfaces of the inlet and exhaust manifolds before re-assembly. I didn't even know he had started the job...

The engine block mating surface also needed to be cleaned and without getting all the crap into the engine cooling chanels or the oil ways. I like the gloves ,nice touch Graham (bend over sir this won't hurt a bit)
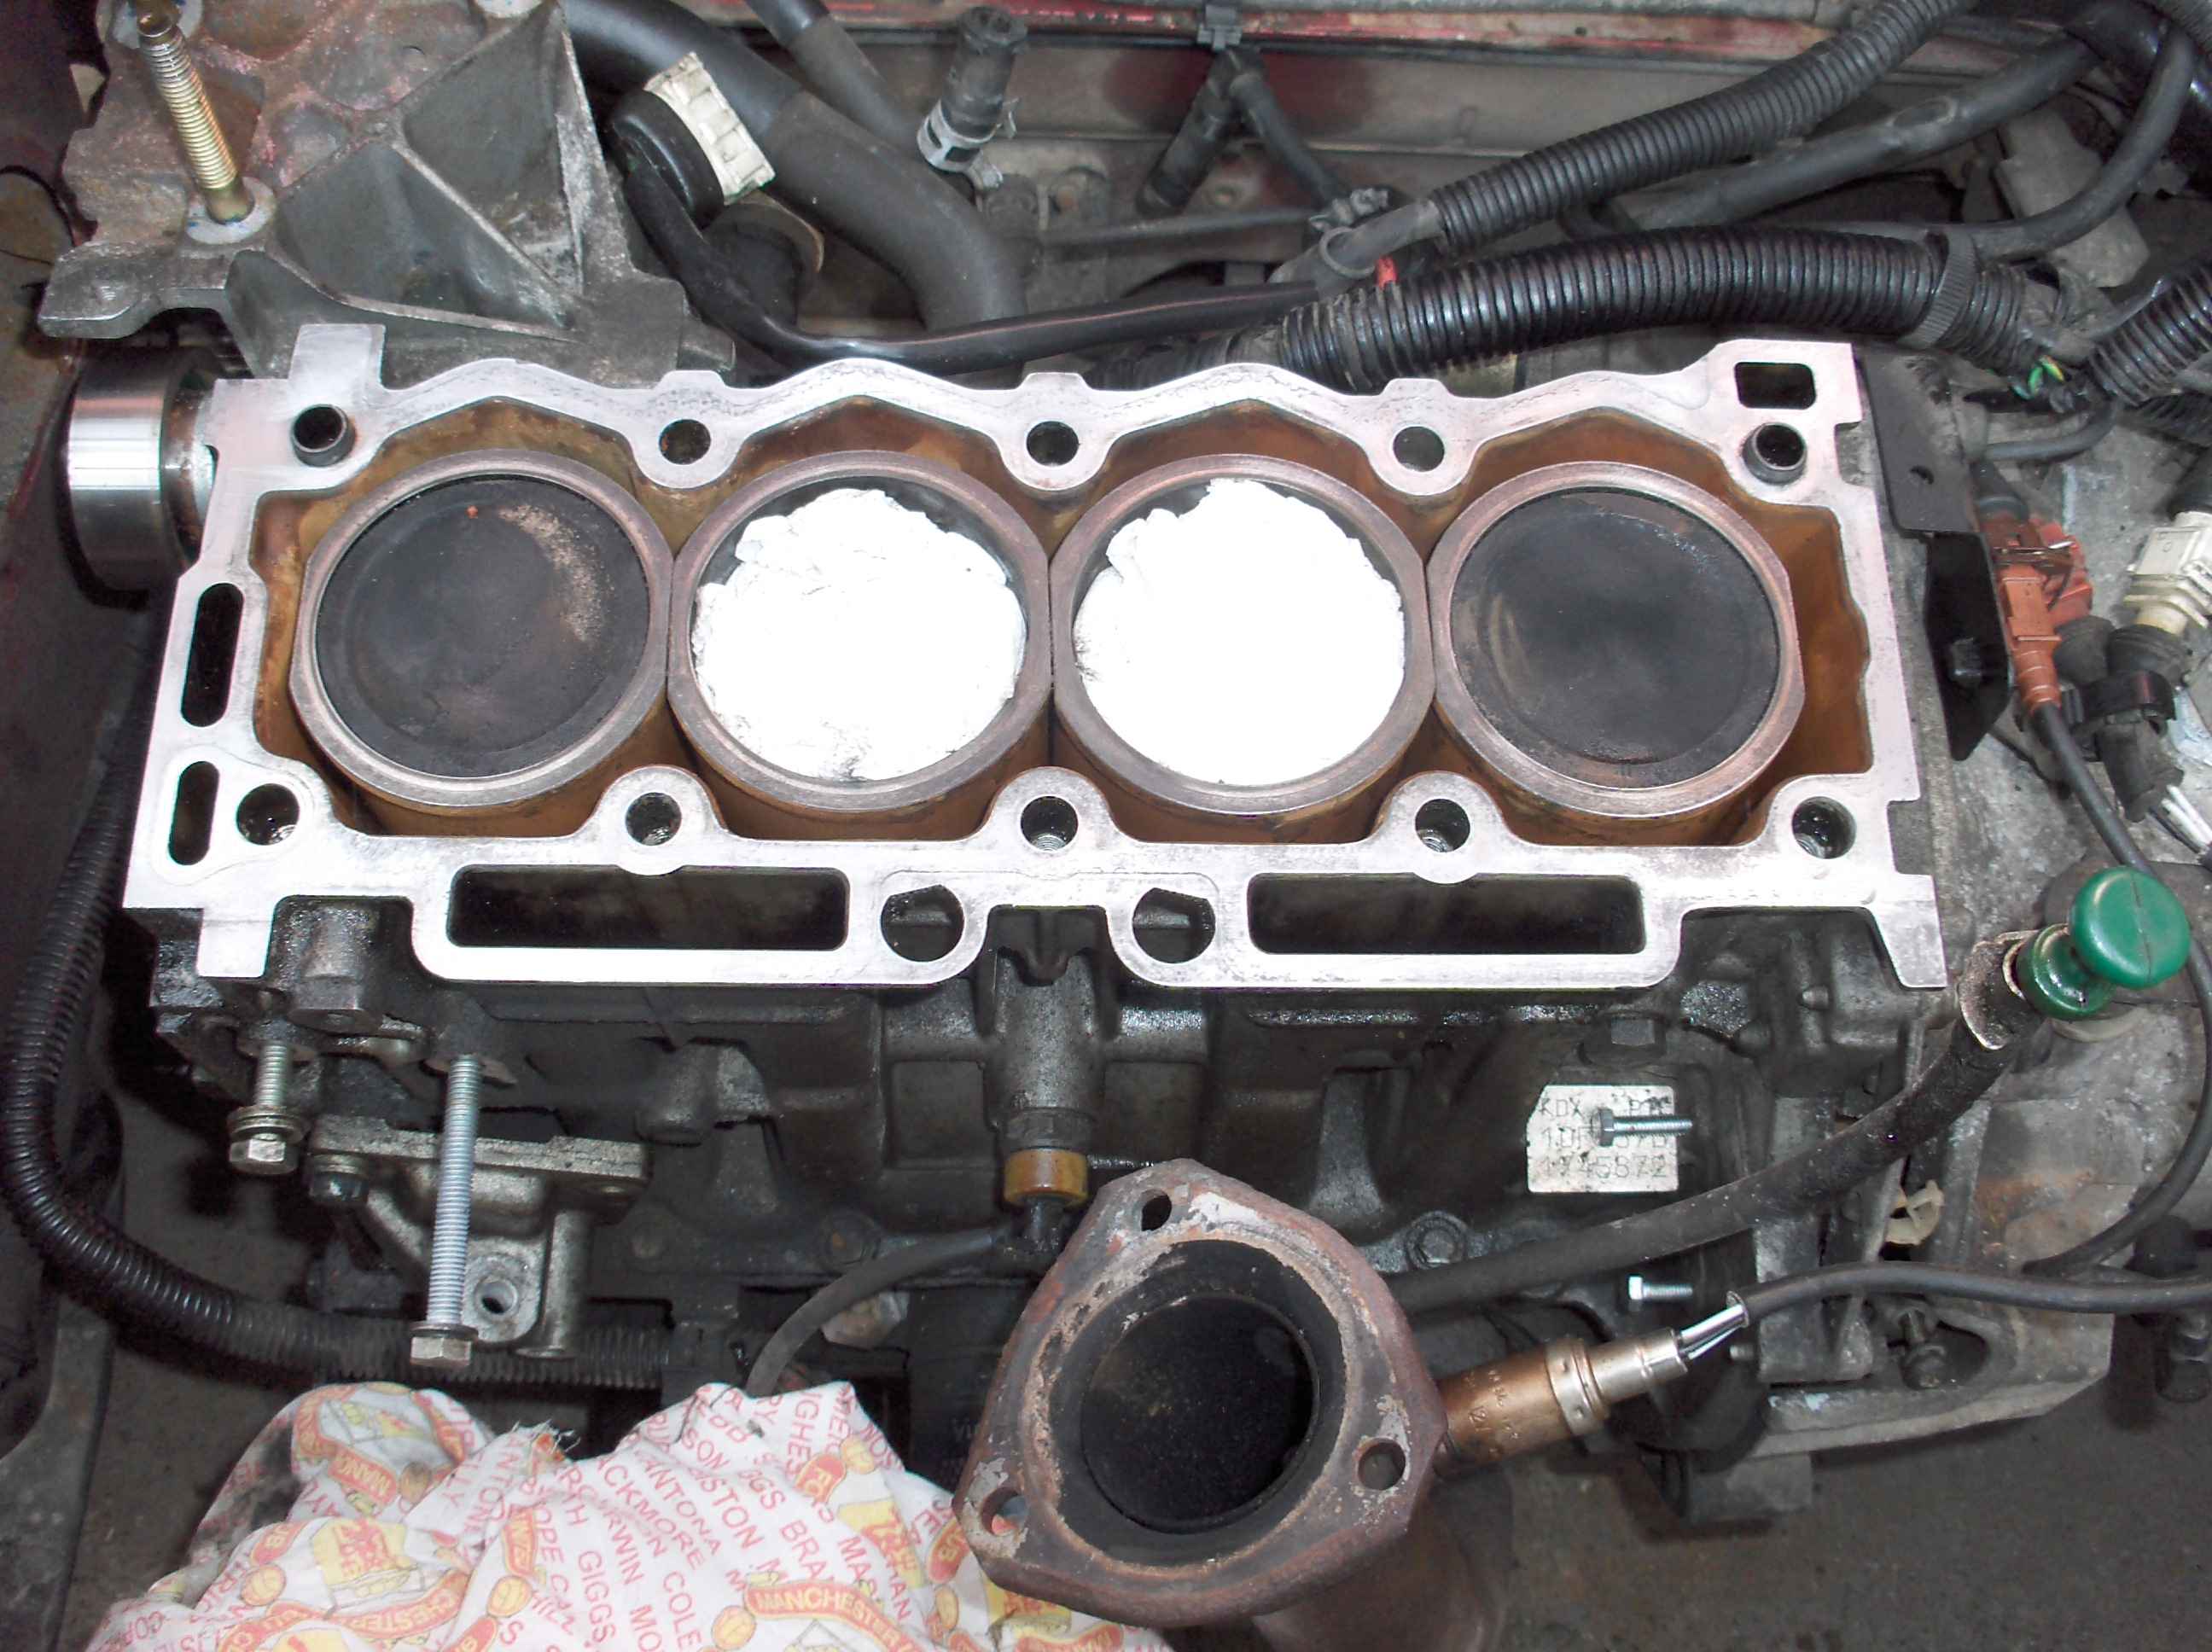
All Clean and ready to re-assemble.
New starter motor fitted
Head and Manifolds re-assembled.
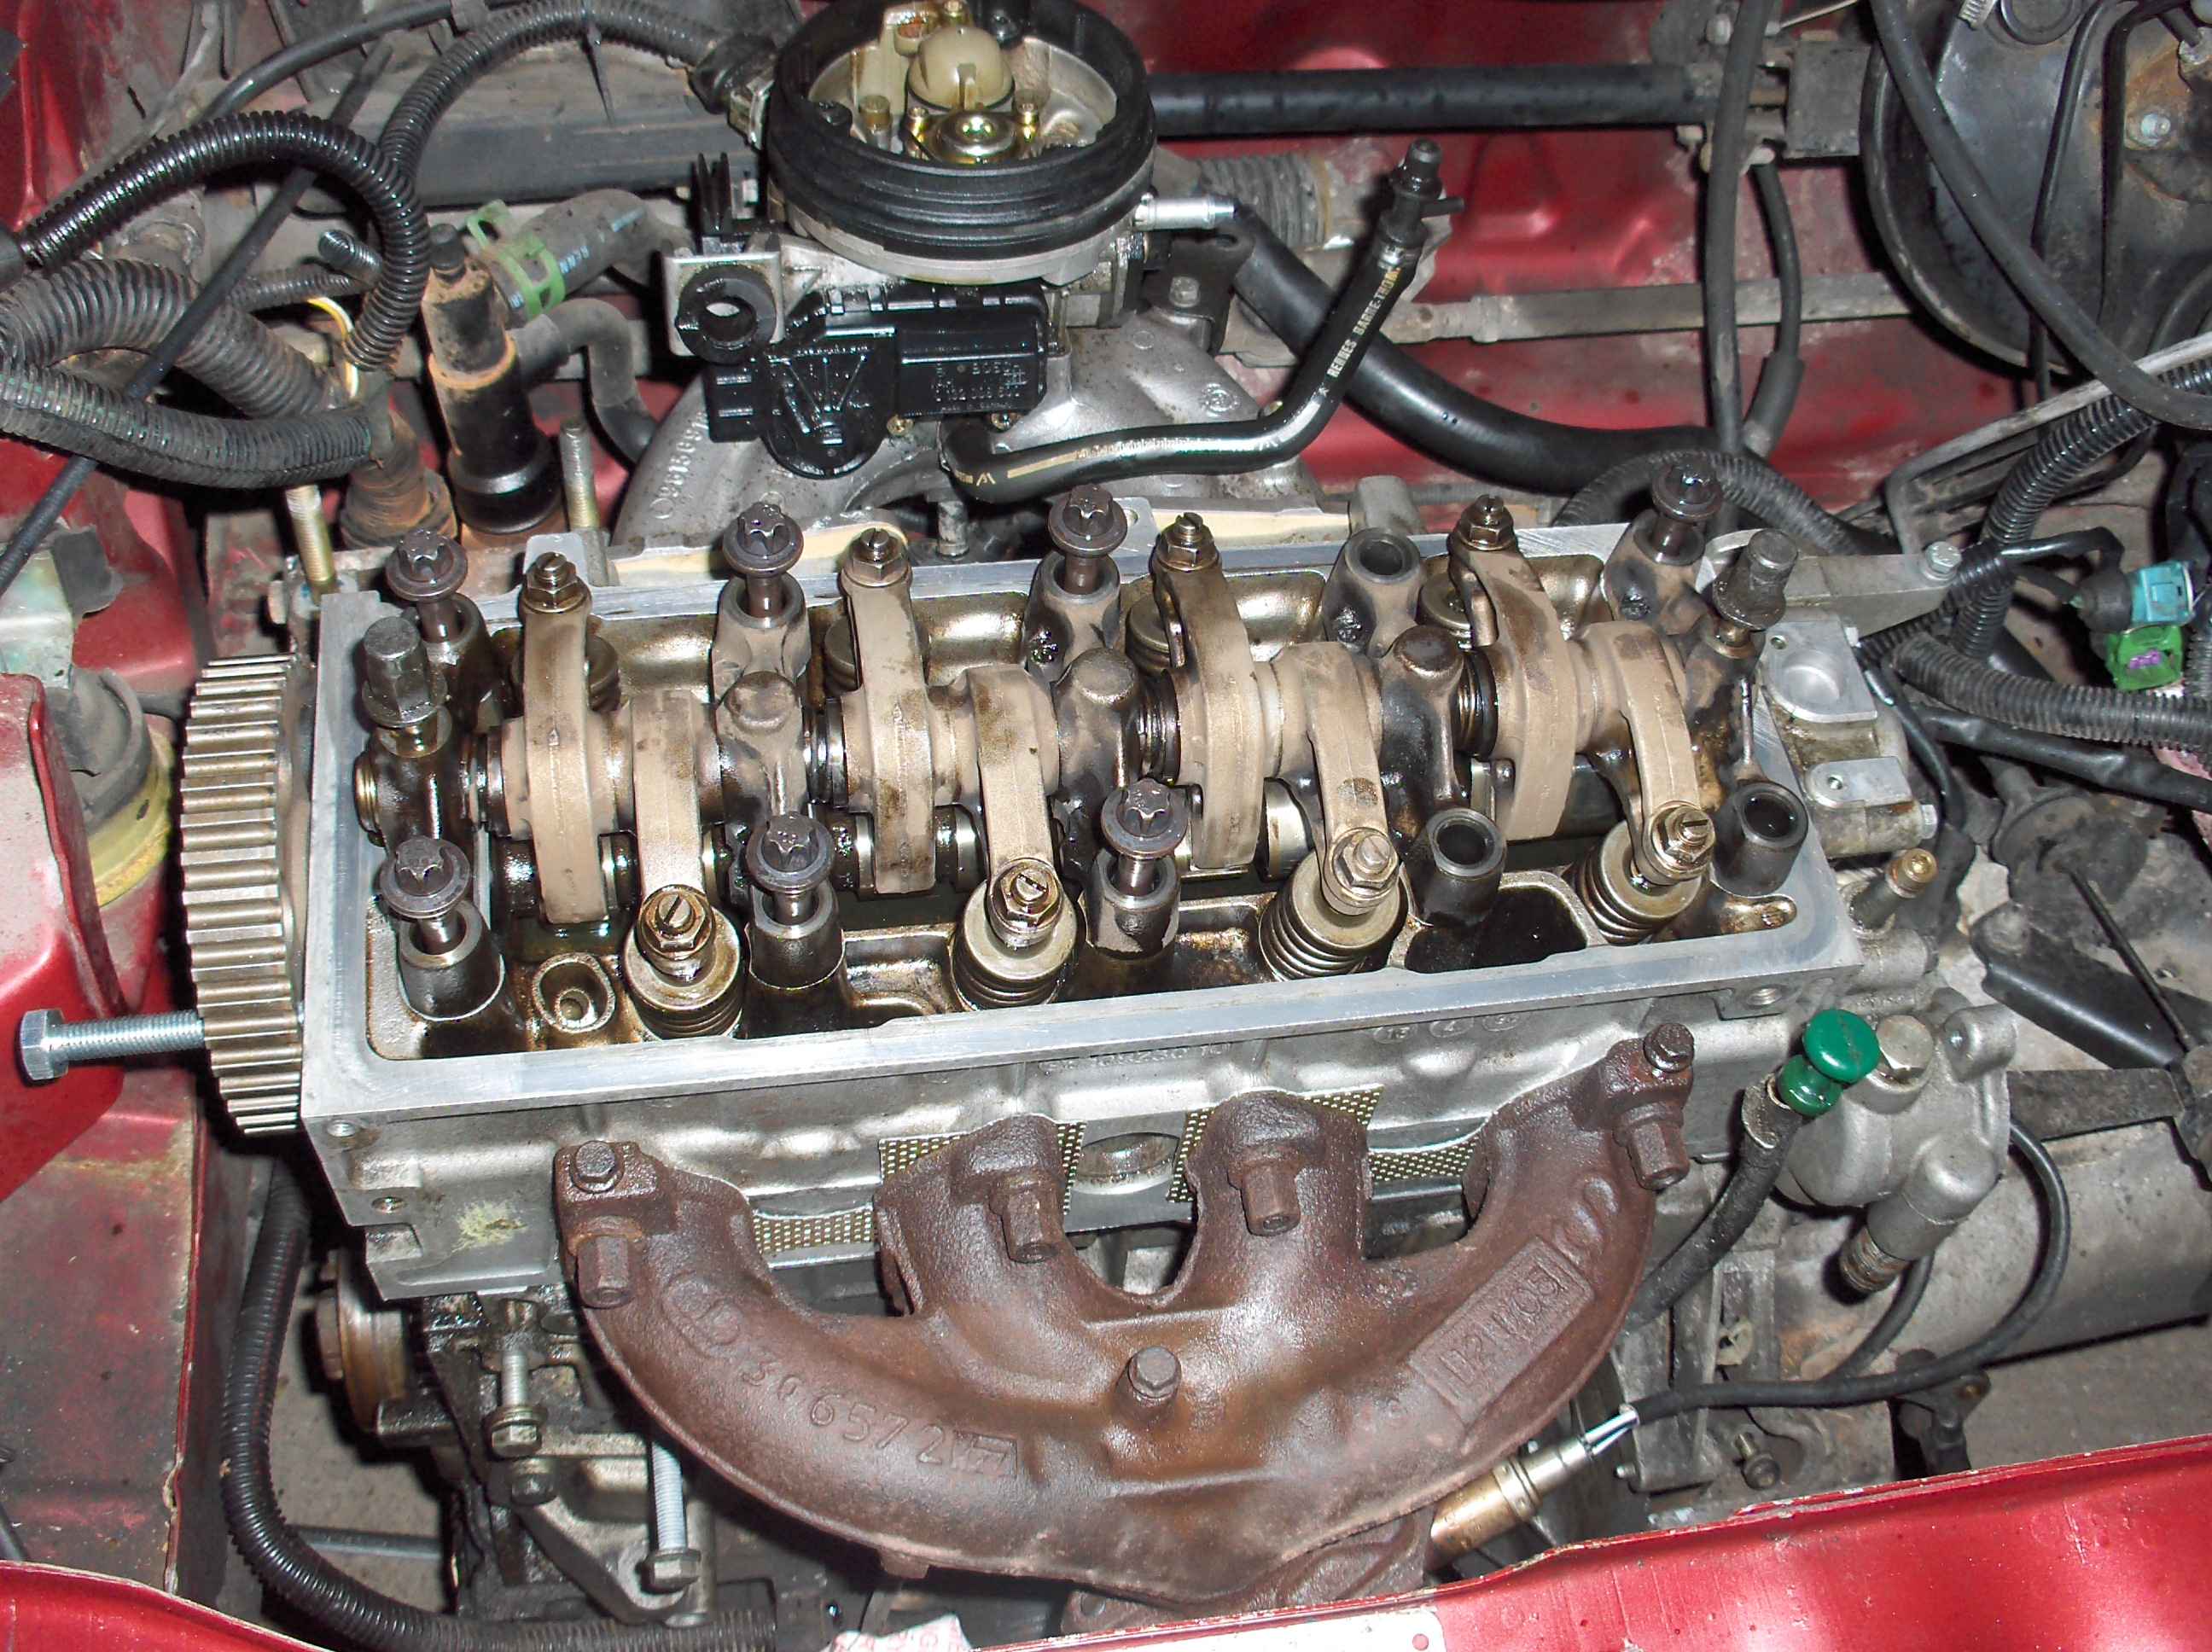
Head replaced on the engine block with rocker assembley before tightening down.

Rob coating the new head bolts with oil before placing in the head.
Timing belt replaced, Graham tightening up the tensioner. After this was tightened we cranked the engine over slowly with a spanner to check that none of the valves fowled the pistons. (all was good)
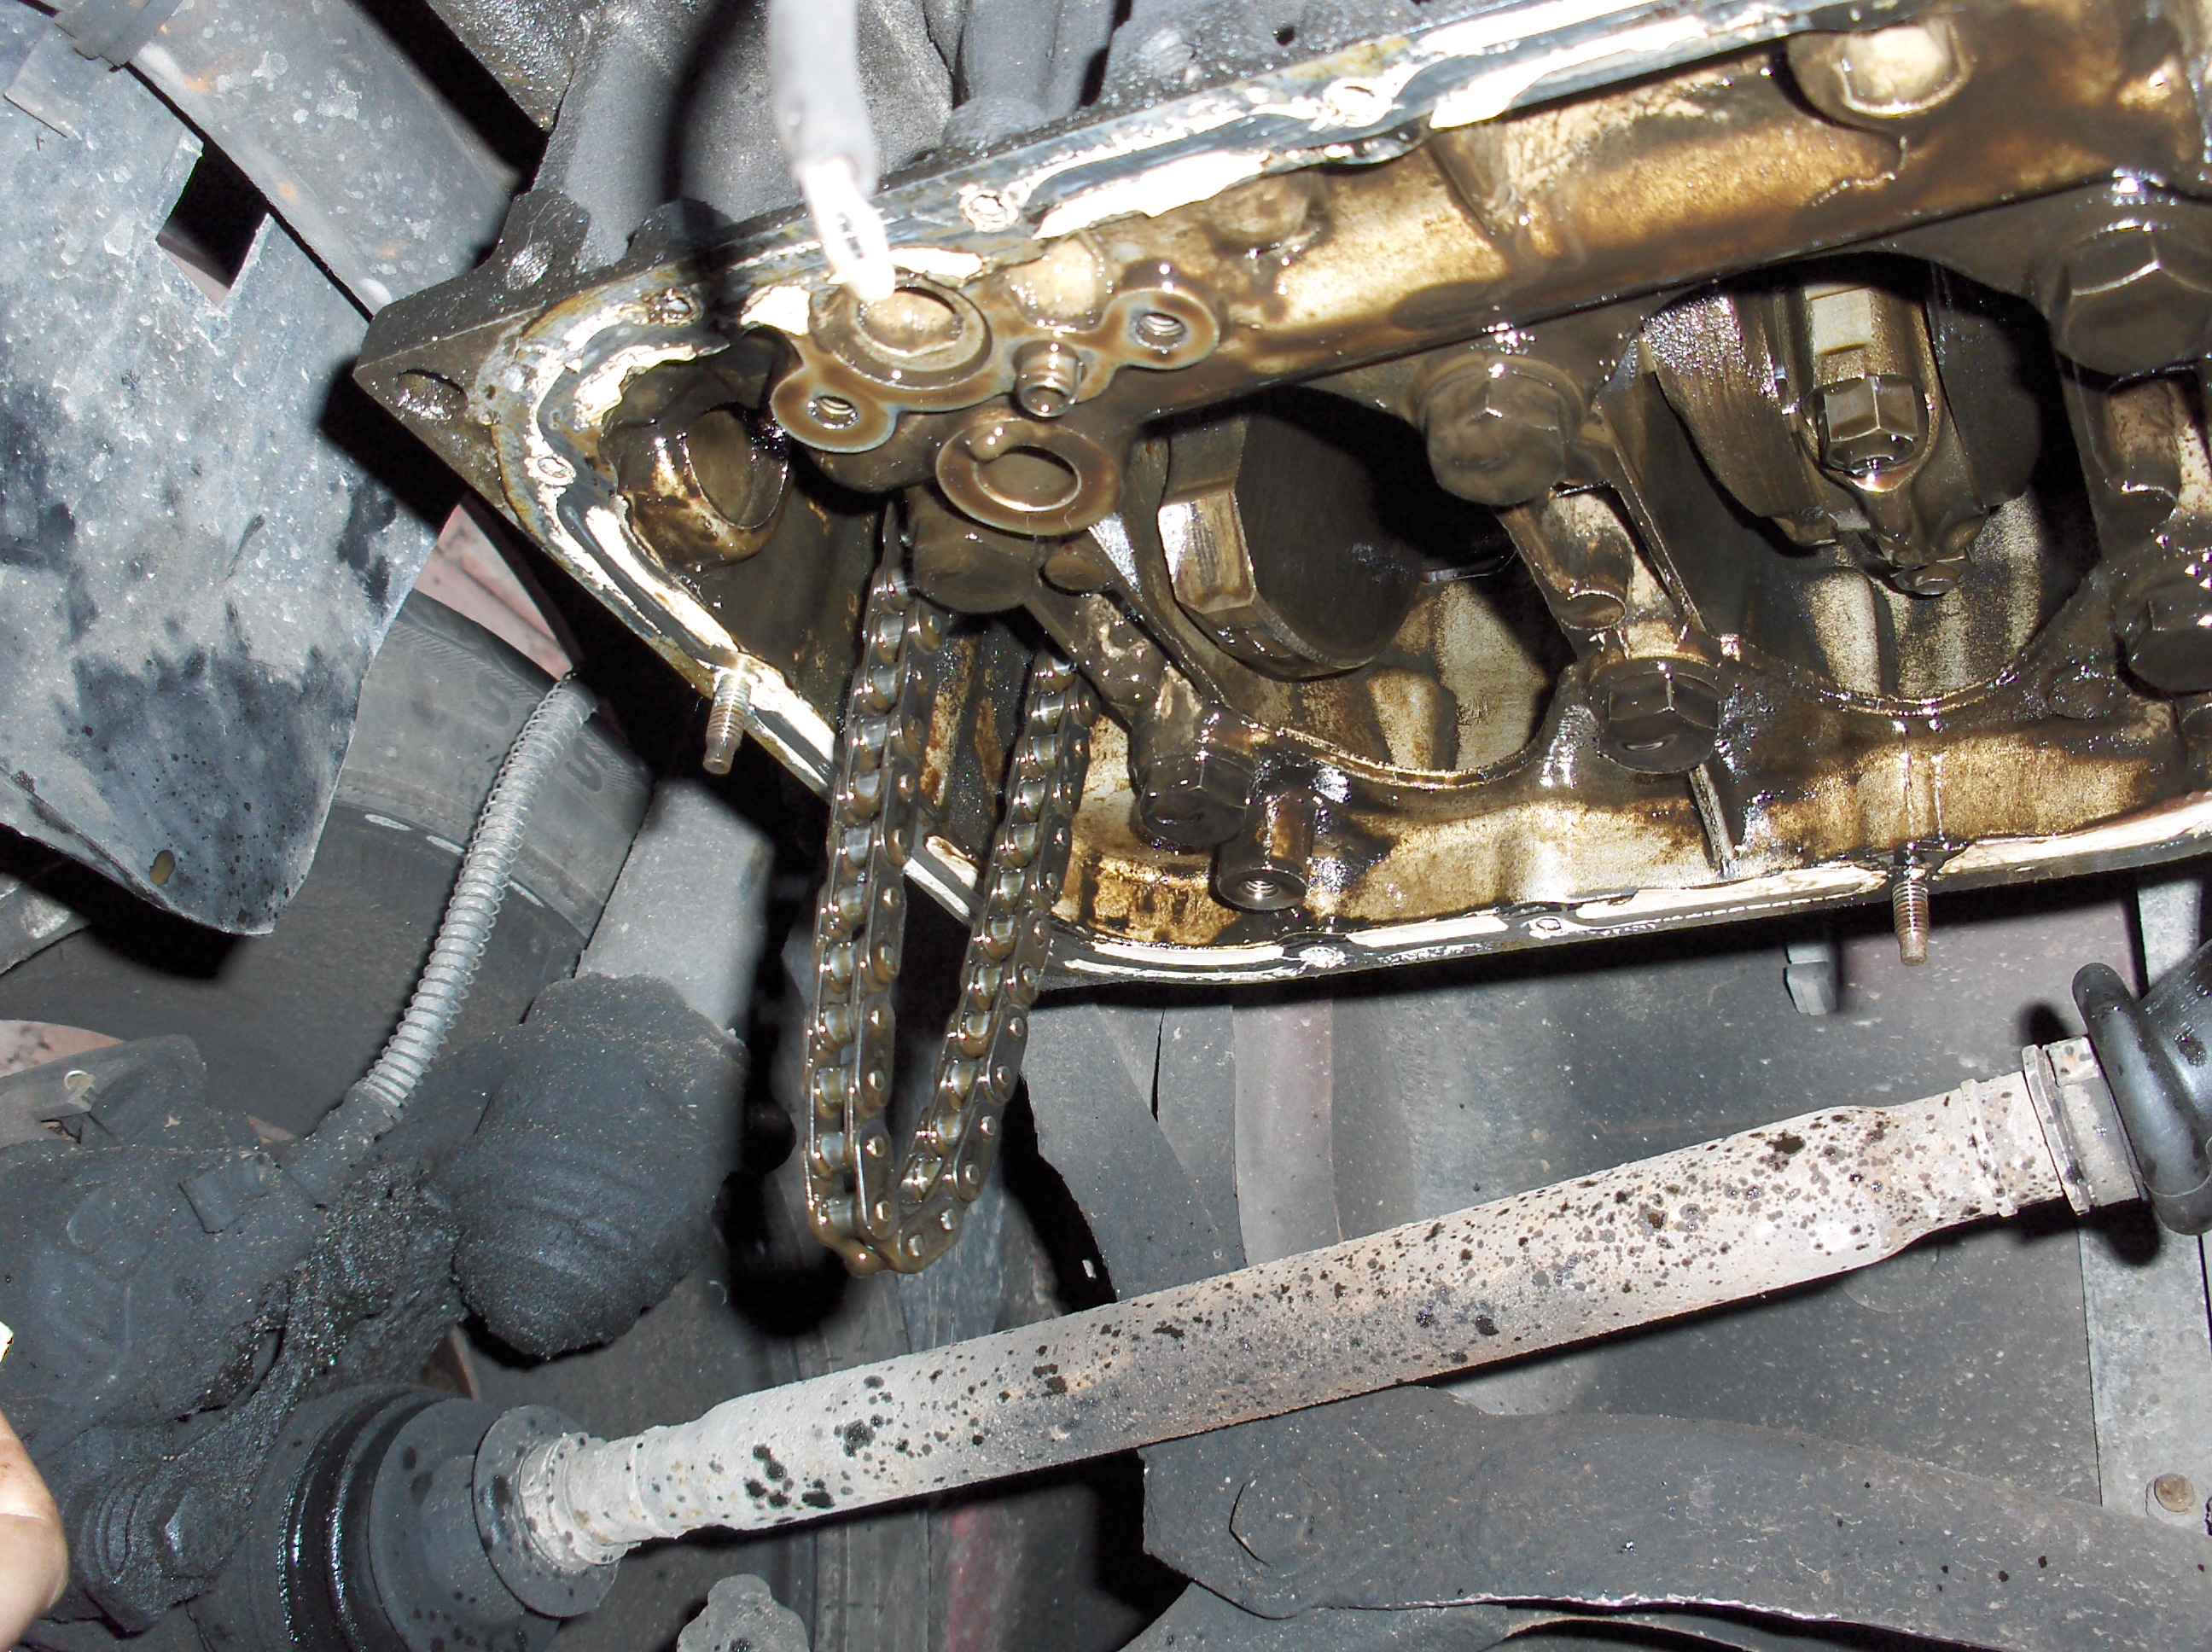
As the oil was so badly contaminated we decided it best to remove the sump and the oil pump and clean both the crank and the pump with more diesel. After re-assembleming the pump and sump. We filled the engine sump with diesel instead of oil. With the plugs removed cranked the engine over on the starter for several minutes (not all in one go) to flush out the oil ways. This removed a great deal more corruption judging by the colour of the diesel when we drained it down.
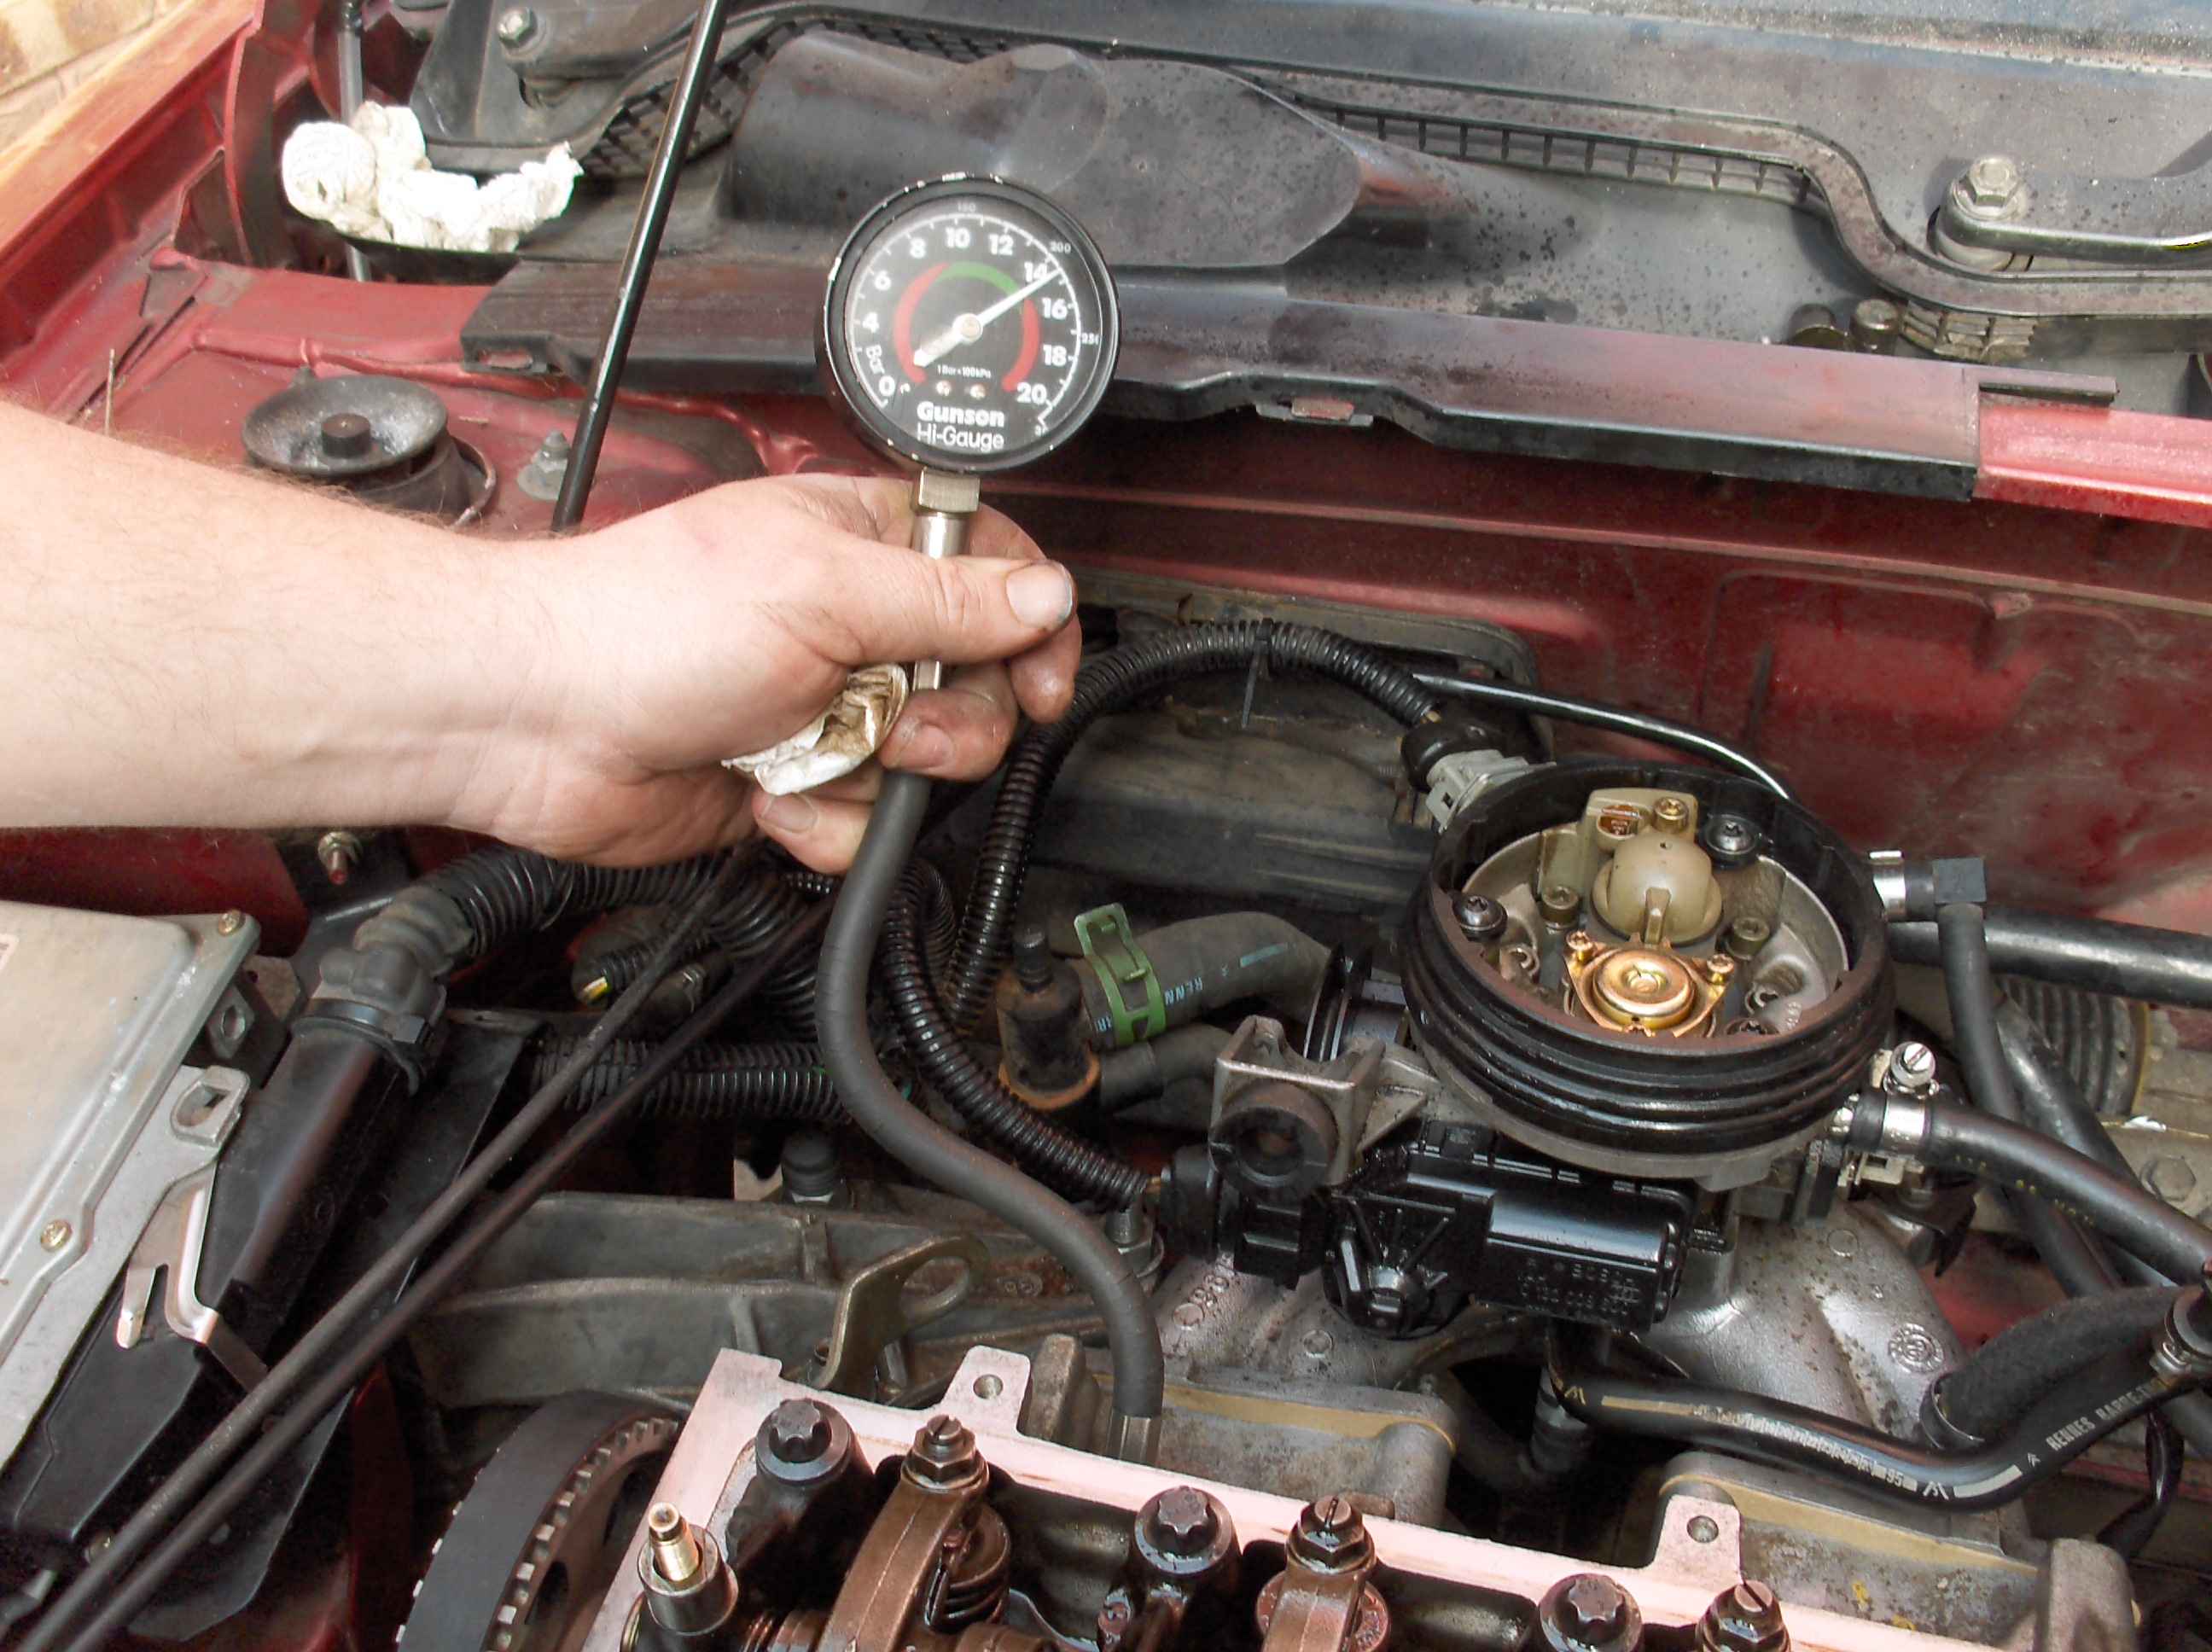
When oil filter was replaced and the sump filled with fresh oil we did a compression test. giving results #1=205 #2=202 #3=202 #4=208PSI.
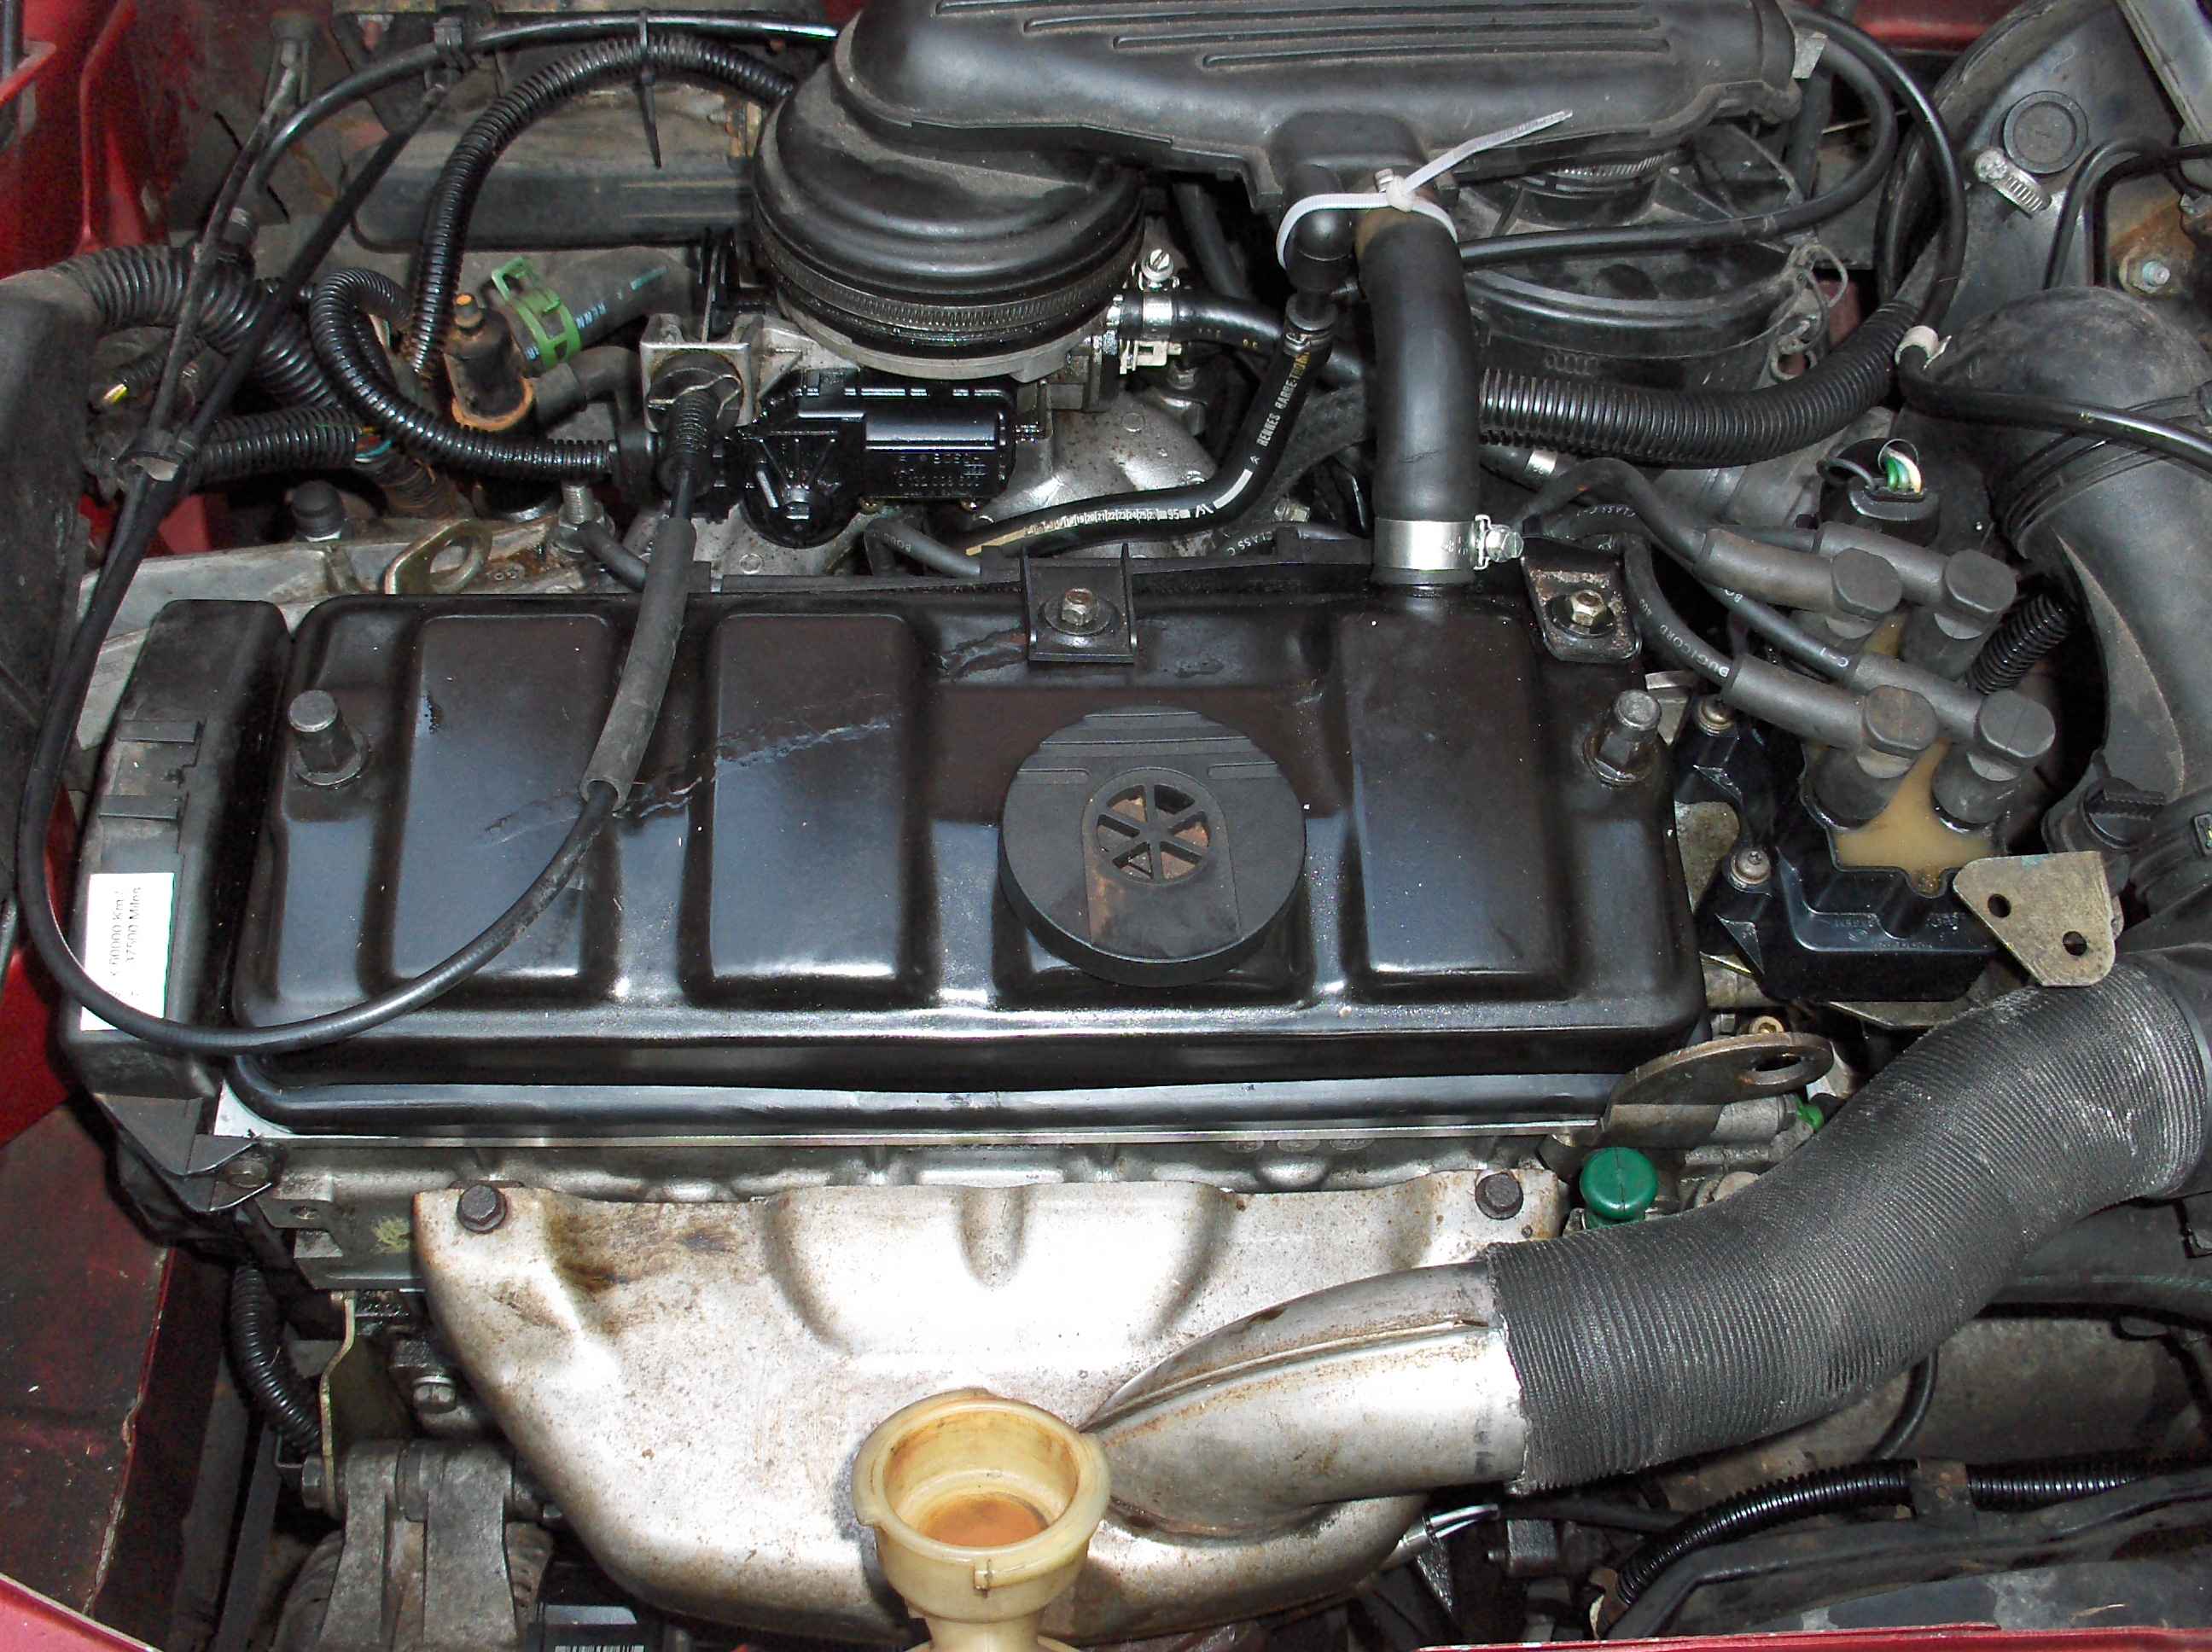
All back together just needs filling with coolant and bleeding. Then starting.